DIY Pizza Crackers Lunchable: A Delightful Homemade Treat for Kids You may also find American Flag Fruit Pizza useful.
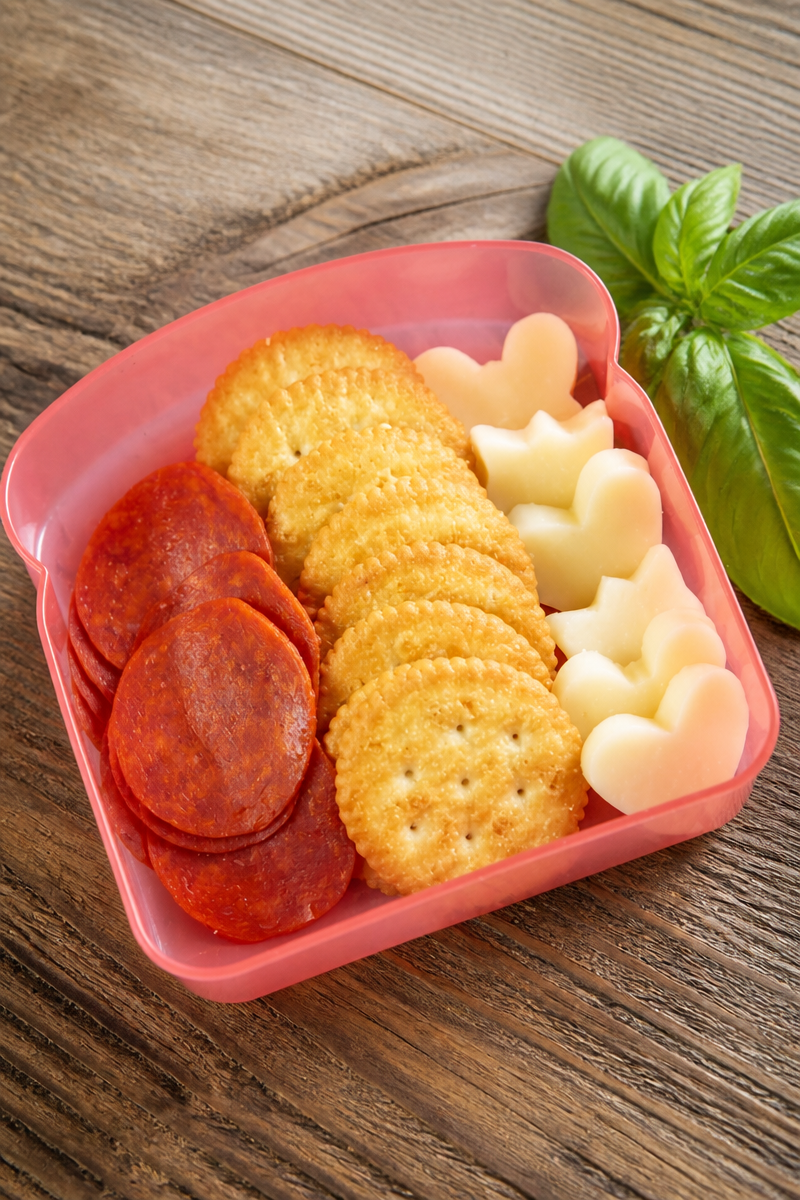
There’s something magical about the smell of warm, cheesy pizza that can instantly brighten a day. It takes us back to our childhood, where pizza was a highlight — perhaps after a long day at school or while enjoying a fun-filled sleepover with friends. Today, I want to share an exciting twist on a classic favorite that combines that nostalgic pizza flavor in a fun, portable package: the DIY Pizza Crackers Lunchable. This homemade meal not only maintains that comforting feel of pizza but also adds a personal touch that store-bought versions simply can’t match.
Why You’ll Love This Recipe
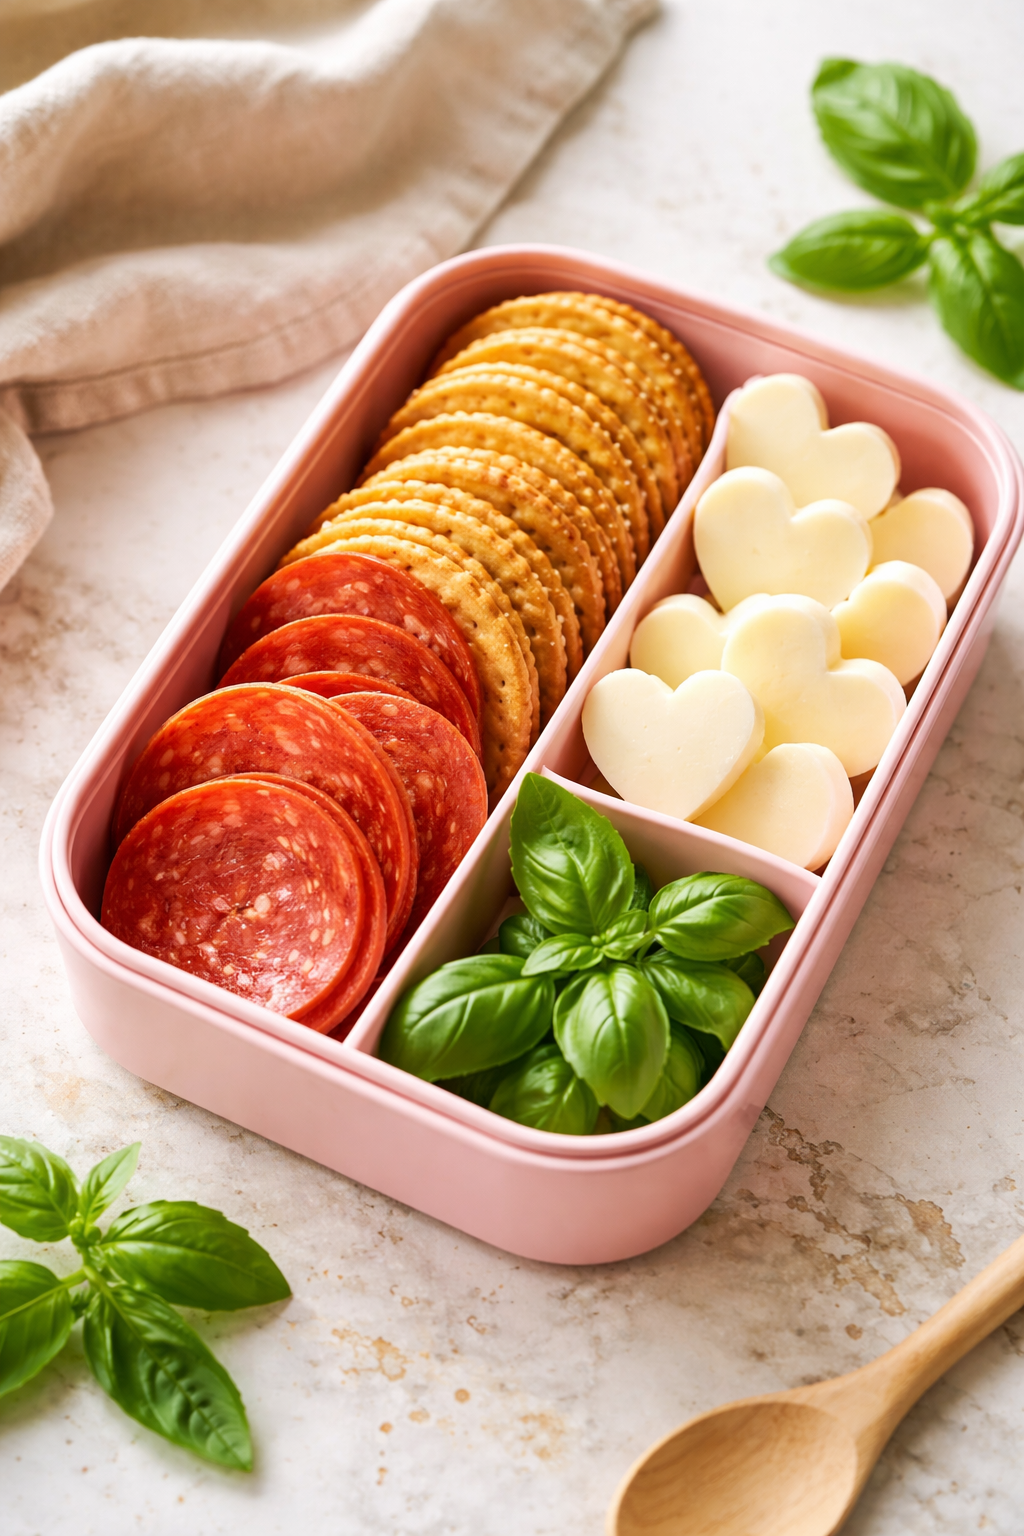
- Delicious Flavors: With a combination of crispy crackers, melty cheese, and your favorite toppings, each bite is bursting with flavor.
- Easy to Prepare: This recipe comes together in no time, making it perfect for busy weekdays or as a fun weekend project with the kids.
- Customizable: You can personalize your Lunchables to suit any taste with different toppings or alternatives, like veggies for a healthier option.
- Budget-Friendly: Making these at home is not only fun but also saves money compared to purchasing pre-packaged versions.
- Crowd-Pleasing: Whether it’s a lunch box surprise or after-school snack, these Pizza Crackers will be a hit with both kids and adults alike.
Ingredients
- Crackers: Use your favorite type, from classic saltines to whole grain options for a healthier twist.
- Cheese: Mozzarella is the go-to choice, but feel free to experiment with cheddar or even vegan alternatives.
- Pizza Sauce: Homemade or store-bought, pizza sauce adds the perfect tangy touch.
- Toppings: Get creative! Try pepperoni, olives, bell peppers, or even pineapple for a sweet contrast.
- Extras: Consider packing a small container of ranch or marinara for dipping.
Prep and Cook Time
- Prep Time: 10 minutes
- Cook Time: 5 minutes (if you choose to heat your crackers in the oven)
- Total Time: 15 minutes
This recipe is not only quick but can be made ahead of time, making it an ideal choice for busy weekdays.
Step-by-Step Instructions
-
Preheat Your Oven (optional): If you prefer your crackers warm, preheat your oven to 350°F (175°C).
-
Arrange Crackers: On a baking sheet, place the crackers in a single layer.
-
Spread Pizza Sauce: Using a spoon, spread a teaspoon of pizza sauce on top of each cracker.
-
Add Cheese: Sprinkle shredded cheese generously over the sauce.
-
Top with Toppings: Add your chosen toppings on top of the cheese, creating colorful combinations.
-
Bake (optional): If you’re using the oven, bake for about 5 minutes, or until the cheese is melted and bubbly.
-
Cool and Pack: Allow the crackers to cool slightly before packing them into lunch boxes or serving immediately.
You can even take these delightful bites a step further by adding some fresh basil leaves for a gourmet touch or experimenting with different types of sauces.
Variations and Twists
While this recipe is fantastic as is, don’t shy away from making it your own! Here are a few twists to consider:
- Healthier Swaps: Substitute whole wheat crackers and add fresh veggies as toppings.
- Themed Lunchables: Create themed Lunchables like BBQ chicken with barbecue sauce and grilled chicken toppings for a fun twist.
- Seasonal Flavors: For the holidays, consider a festive version with cranberry sauce and turkey slices for a Thanksgiving-like treat.
Serving Suggestions
Present your DIY Pizza Crackers Lunchable in a fun and inviting way. Consider arranging them on a colorful plate with small bowls of dipping sauces. Great for lunchboxes, playdates, or family game nights, these bite-sized beauties promise smiles all around. You can even include small fruit skewers or a side salad to complement the meal and make it visually appealing.
Storage and Reheating
If you have leftovers (which is rare, but it can happen!), store them in an airtight container in the refrigerator for up to 3 days. Reheat in the oven briefly for about 5 minutes to refill that cheesy goodness, or enjoy them cold as a quick snack.
Kitchen Tips for Success
- Mix and Match: Use different types of crackers or alternative bases like toasted pita bread for a unique texture.
- Pre-assemble: You can prepare the components ahead of time and have the kids assemble their own Lunchables during lunch.
- Taste Test: Encourage kids to try out different toppings to discover new flavor combinations they love.
FAQs
- Can I prepare these the night before? Yes! Simply pack the ingredients separately to keep the crackers crispy and the cheese fresh.
- What if I don’t have pizza sauce? Feel free to use tomato sauce; just add a few Italian spices for that pizza flavor.
- Can these be frozen? It’s best to avoid freezing as the texture may change. However, assembled crackers can be refrigerated and eaten cold.
Conclusion
The DIY Pizza Crackers Lunchable is not just a recipe; it’s a delightful family activity that cultivates bonding over delicious food. As you gather around the kitchen with loved ones, creating your unique snack, you’ll appreciate the moments shared just as much as the meal itself. For additional creative ideas, check out these fun Pizza Cracker inspirations from MidgetMomma. Enjoy crafting, sharing, and indulging in these tasty treats!
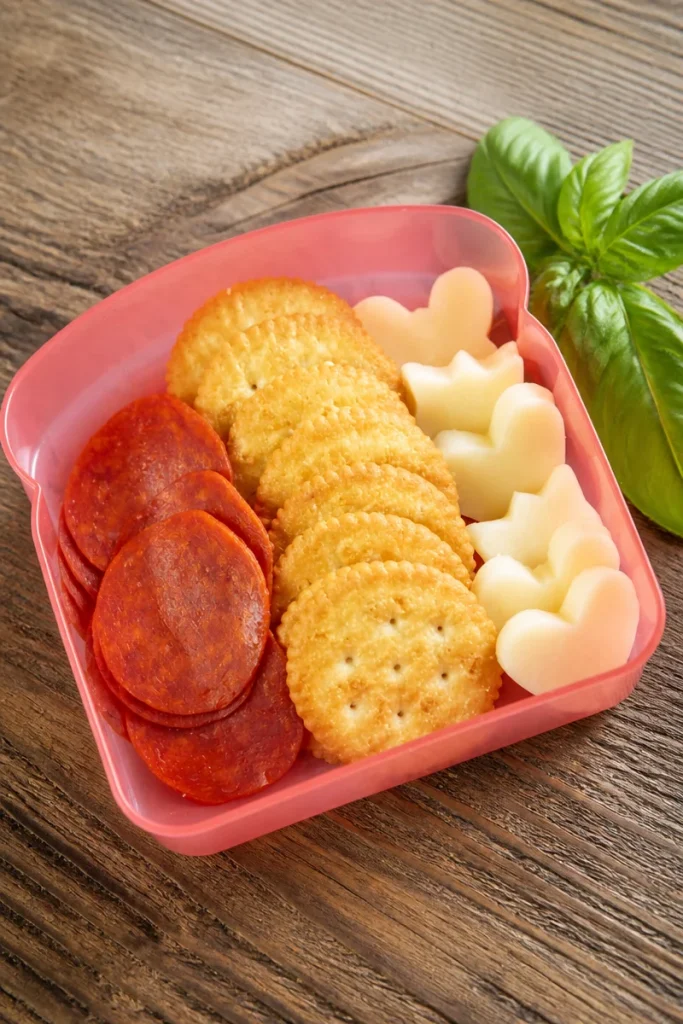
DIY Pizza Crackers Lunchable
Ingredients
Method
- Preheat your oven to 350°F (175°C) if you prefer your crackers warm.
- On a baking sheet, arrange the crackers in a single layer.
- Spread a teaspoon of pizza sauce on top of each cracker.
- Sprinkle shredded cheese generously over the sauce.
- Add your chosen toppings on top of the cheese.
- If using the oven, bake for about 5 minutes, or until the cheese is melted and bubbly.
- Allow the crackers to cool slightly before packing them into lunch boxes or serving immediately.