Grilled Cheese Roll-Ups You may also find Bacon Wrapped Grilled Cheese Fingers useful.
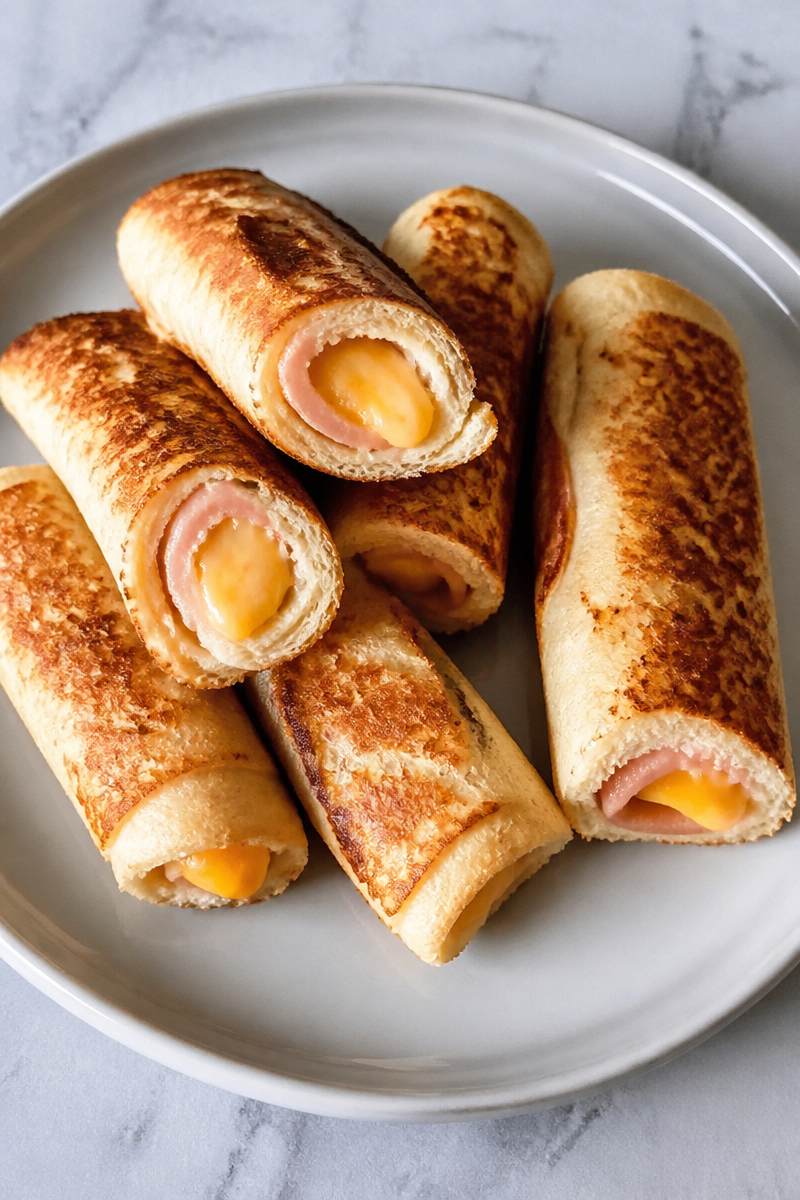
There’s just something sacred about grilled cheese—its gooey, melty cheese tucked between crispy, buttery bread evokes laughter and warmth from childhood memories. When nostalgia mingles with creativity, you get the unique treat that is Grilled Cheese Roll-Ups. This recipe takes the classic comfort food we all adore and gives it a delightful twist, transforming it into a fun finger food perfect for parties or cozy family dinners. Whether you’re reminiscing about childhood lunches or sharing a meal with loved ones, these roll-ups are sure to satisfy and impress.
Why You’ll Love This Recipe
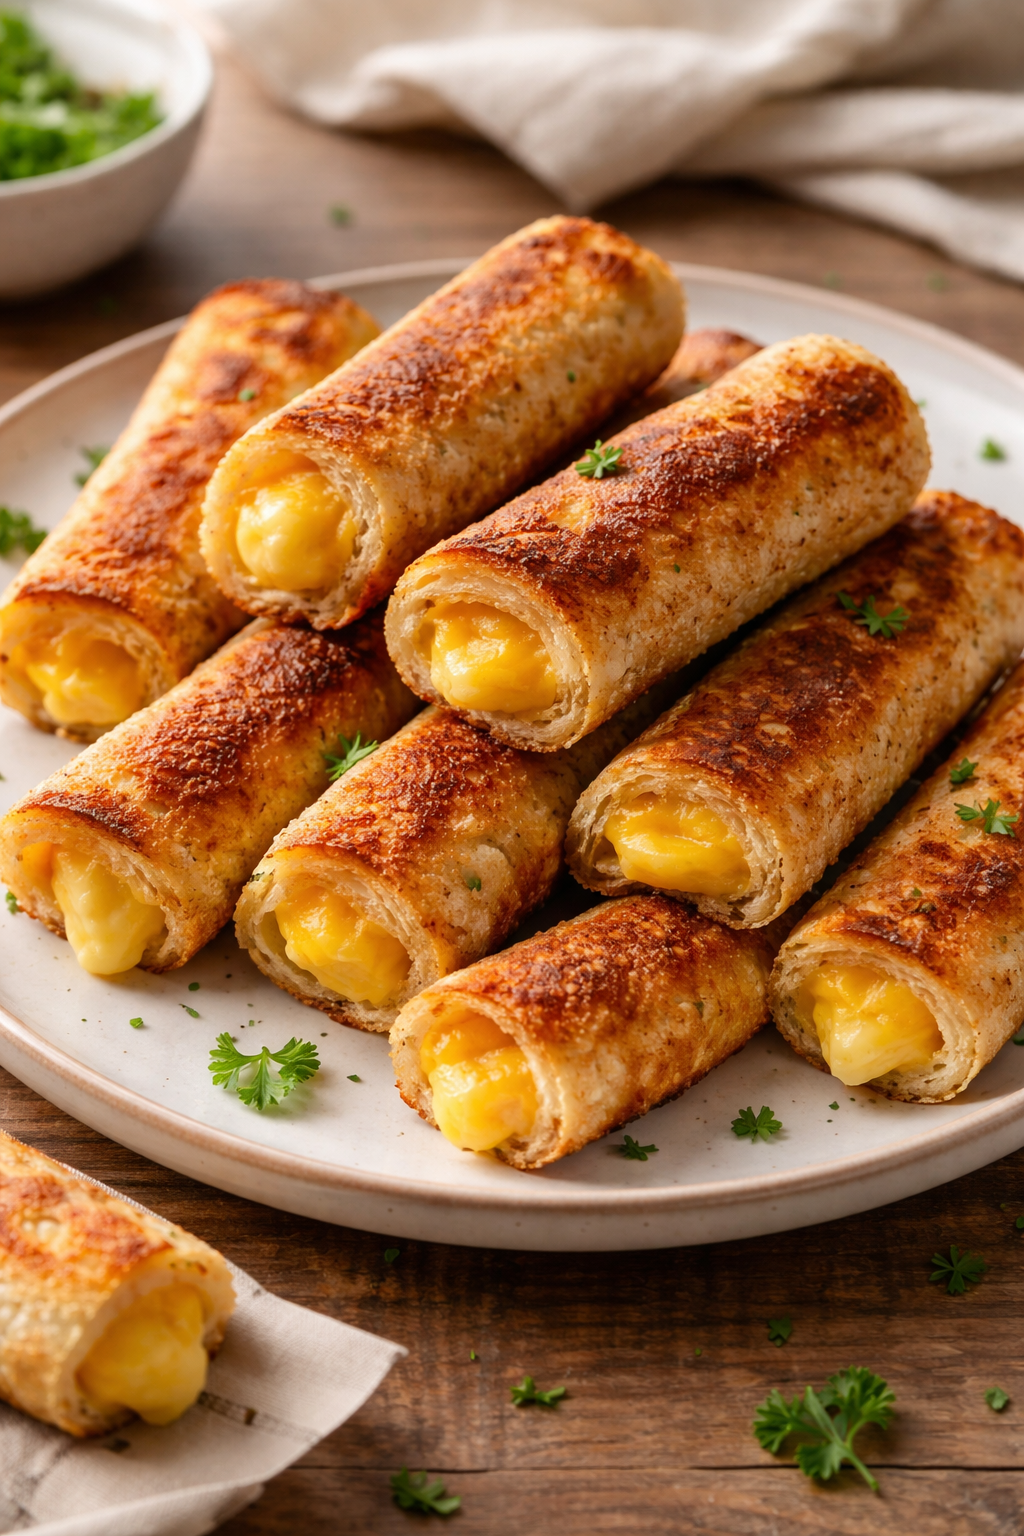
- Deliciously Creative: Takes the classic grilled cheese to a whole new level.
- Easy to Prepare: Simple ingredients and minimal prep time make this a breeze.
- Crowd-Pleasing: Perfect for gatherings, the kids will love them!
- Budget-Friendly: Affordable ingredients mean you can make a batch for everyone.
- Comforting: Every bite is packed with the gooey goodness you crave.
Ingredients
- 8 slices of white sandwich bread (feel free to swap for whole grain or sourdough for added flavor)
- 8 slices of your favorite cheese (cheddar, mozzarella, or even a blend)
- Butter, for spreading (or use mayonnaise for an extra crisp!)
- Optional: seasonings like garlic powder or Italian herbs for added flavor
Prep and Cook Time
- Prep Time: 10 minutes
- Cook Time: 10-15 minutes
- Total Time: About 25 minutes
This recipe is quick to whip up, making it a great option for a last-minute dinner or an indulgent snack.
Step-by-Step Instructions
-
Start by laying out slices of bread on a clean surface. Using a rolling pin, gently flatten each slice until they are about a quarter of an inch thick. This will make it easier to roll them up later.
-
Spread a thin layer of butter on one side of each slice of bread for that golden, crispy finish.
-
Place a slice of cheese on each piece of bread, ensuring to leave a little space at the edges to prevent overflow when rolling.
-
Optional: Sprinkle your chosen seasonings on top of the cheese for an extra layer of flavor.
-
Carefully roll each slice of bread tightly around the cheese, starting from one edge and ensuring it’s snug.
-
In a preheated skillet over medium heat, add a small amount of butter. Once melted and bubbly, place the roll-ups seam side down in the pan.
-
Cook until golden brown on one side, about 2-3 minutes, then gently flip to brown the other side. Keep an eye on them; they cook quickly!
-
Once both sides are nicely toasted, remove them from the pan and let them cool slightly before slicing them into bite-sized pieces.
-
Serve warm and enjoy the delightful gooeyness inside!
Variations and Twists
Feel free to get creative with your Grilled Cheese Roll-Ups! Here are some fun modifications to consider:
- Veggie-Rich: Add thin slices of tomato or spinach just before rolling for a fresh kick of flavor.
- Sweet & Savory: Swap out the cheese for a sweet cream cheese filling combined with fruit preserves for a delightful dessert option.
- Regional Flavors: Experiment with regional cheeses or spices to match your favorite cuisines—go for feta and olives for a Mediterranean twist!
Serving Suggestions
These Grilled Cheese Roll-Ups are perfect for any occasion. Serve them as a quick after-school snack, accompany them with tomato soup for a classic combo, or present them on a platter at gatherings as a finger food. Dressing them up with a touch of balsamic reduction or a sprinkle of fresh herbs can elevate your presentation, making them visually appealing as well.
Storage and Reheating
Leftovers can be stored in an airtight container in the refrigerator for up to 3 days. For the best texture, reheat them in a skillet over medium heat to restore their crispness. Alternatively, you can pop them in the toaster oven if you prefer the convenience of quick reheating.
Kitchen Tips for Success
- Always butter the outside of the bread evenly to ensure a perfect crust.
- Experiment with different types of cheeses for varied textures and flavors.
- For extra cheesiness, consider mixing different types of cheeses for a more complex flavor experience.
- If you want a little crunch, add some crushed cornflakes or panko breadcrumbs to the cheese before rolling.
FAQs
Can I make these ahead of time?
Yes! You can prepare the roll-ups in advance and store them in the refrigerator until you’re ready to cook. Just remember to cook them fresh for the best texture!
What can I substitute for bread?
You can use gluten-free bread or even tortillas for a different take on the roll-up.
How many roll-ups does this recipe make?
This recipe yields about 8 roll-ups, which should serve around 4 people as a snack.
Conclusion
The joy of making and sharing Grilled Cheese Roll-Ups cannot be overstated. With their delightful crunch and ooey-gooey center, these treats can spark joy and create lasting memories around the table. So gather your ingredients, roll up your sleeves, and dive into the kitchen! You can also check out this flavorful twist on grilled cheese at Grilled Cheese Roll Ups – The BakerMama for even more inspiration. Happy cooking!

Grilled Cheese Roll-Ups
Ingredients
Method
- Lay out slices of bread on a clean surface.
- Using a rolling pin, gently flatten each slice until they are about a quarter of an inch thick.
- Spread a thin layer of butter on one side of each slice of bread.
- Place a slice of cheese on each piece of bread, leaving space at the edges.
- Optional: Sprinkle chosen seasonings on top of the cheese.
- Carefully roll each slice of bread tightly around the cheese.
- In a preheated skillet over medium heat, add a small amount of butter.
- Once melted, place the roll-ups seam side down in the pan.
- Cook until golden brown on one side, about 2-3 minutes, then flip to brown the other side.
- Once both sides are toasted, remove from the pan and let cool slightly before slicing.
- Serve warm and enjoy!