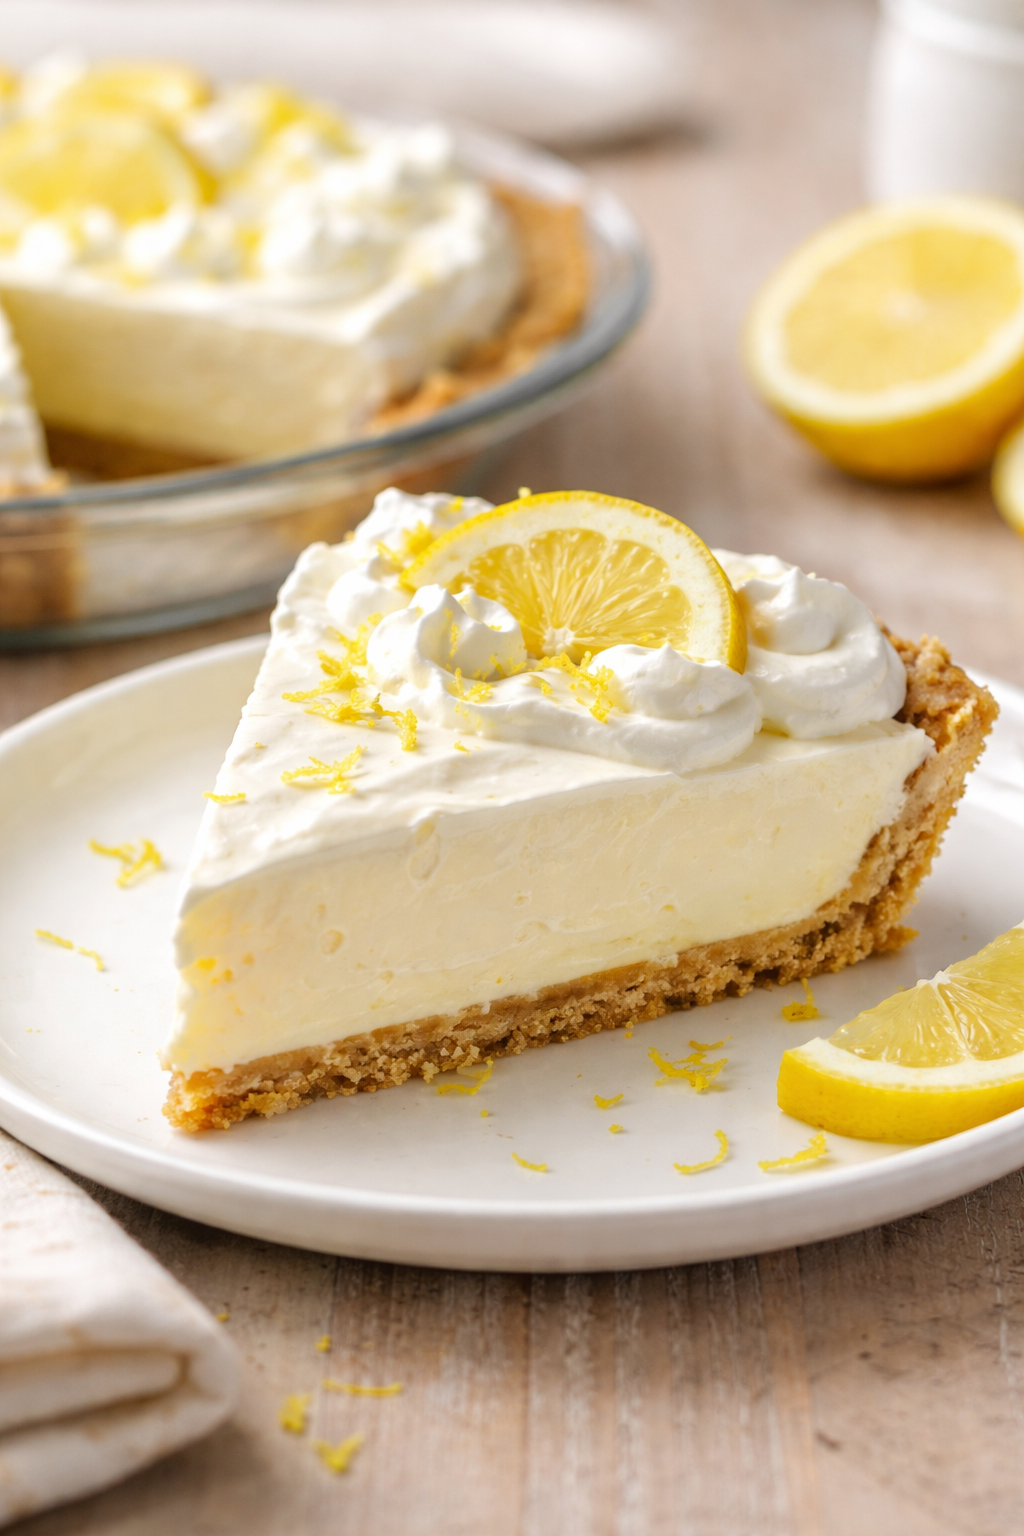
No-Bake Cream Cheese Lemonade Pie — Bright, Creamy, and Simply Joyful
A Cozy Memory and a Sweet Invitation
There’s a kind of summer light trapped in a slice of No-Bake Cream Cheese Lemonade Pie — the bright tug of lemon, the cool silk of cream cheese, the nostalgic crumb of a buttery crust. The very first time I made this pie, my grandmother and I stood side by side at her kitchen counter, fingers dusted with graham cracker crumbs and laughter in the air, and the house smelled like sunshine. This No-Bake Cream Cheese Lemonade Pie is that comforting, shared moment delivered on a plate: a homemade meal turned festive treat, a little indulgent dessert that also doubles as a family recipe for warm afternoons. If you love citrus tarts, you might also enjoy a similar easy lemon cream cheese pie for another quick, sweet idea.
Related keywords: {related keywords}
Why You’ll Love No-Bake Cream Cheese Lemonade Pie
- Bright, balanced flavor: tangy lemonade meets smooth cream cheese for a dessert that sings without being overly sweet.
- Quick and no-fuss: no oven required — perfect as a quick dinner idea or last-minute festive treat.
- Crowd-pleaser: people of all ages adore the creamy texture and zesty finish.
- Make-ahead friendly: a perfect option for potlucks, picnics, or slow Sundays when you want a little indulgent dessert without the rush.
- Budget-friendly and versatile: swap ingredients for a healthier option or keep it classic for a treat.
Ingredients for No-Bake Cream Cheese Lemonade Pie
- 1 1/2 cups graham cracker crumbs (or crushed digestive biscuits) — for a nutty, crisp base. Swap for gluten-free crackers if needed.
- 6 tablespoons unsalted butter, melted — gives the crust a tender, buttery bite. Use coconut oil for a dairy-free version.
- 8 ounces cream cheese, softened to room temperature — the silky heart of the pie; full-fat makes it richer.
- 1 cup heavy cream, cold — whip to soft peaks for a cloud-like texture; or use coconut cream for non-dairy.
- 1 (14-ounce) can sweetened condensed milk — sweetens and sets the filling beautifully; for lighter sweetness, try a reduced-sugar condensed milk.
- 1/2 cup fresh lemon juice (about 2–3 lemons) — fresh juice brightens the whole pie; bottled will work in a pinch.
- 2 tablespoons lemon zest — extra brightness and lovely flecks.
- 1 teaspoon vanilla extract — rounds the flavors.
- Pinch of fine sea salt — essential for balance.
- Optional garnish: thin lemon slices, candied lemon peel, or a sprinkle of crushed graham crackers.
Prep and Cook Time
- Prep time: 20 minutes
- Chill time: 3 to 4 hours (or overnight for best set)
- Total time: about 3 hours 20 minutes (mostly hands-off)
This is a quick, make-ahead dessert that rewards patience — set it in the fridge, and it becomes even more cohesive and easy to slice.
Step-by-Step Instructions
- Prepare the crust: In a medium bowl, mix graham cracker crumbs and melted butter until the texture resembles wet sand. Press the mixture evenly into the base and up the sides of a 9-inch pie pan. Use the bottom of a measuring cup to compact it tightly. The crust should feel firm under your fingers.
- Chill the crust: Place the crust in the refrigerator while you make the filling — about 10 to 15 minutes helps it firm up and prevents a soggy bottom.
- Whip the cream: In a chilled bowl, whip the cold heavy cream with an electric mixer to soft peaks. Listen for the change from liquid to billowy peaks — it will be thick and slightly glossy. Set aside.
- Beat the cream cheese: In a separate bowl, beat the softened cream cheese with the sweetened condensed milk, lemon juice, lemon zest, vanilla, and salt until smooth and bright. The lemon will give the mixture a slightly tangy aroma that lifts the whole room.
- Fold gently: Fold the whipped cream into the cream cheese mixture in two additions, using a spatula and gentle folding motions to keep the airy texture. Aim for a uniform pale yellow filling that feels light as a cloud but creamy on the spoon.
- Assemble the pie: Spoon the filling into the chilled crust and smooth the top with an offset spatula. The filling will hold its shape and look glossy.
- Chill to set: Refrigerate the pie for at least 3 hours, or overnight for a firmer slice. When set, garnish with lemon slices or candied peel just before serving.
- Slice and serve: Use a sharp, warm knife (run it under hot water and dry) to cut clean slices. Serve chilled and watch faces light up.
Variations and Twists
- Lighter version: Replace heavy cream with whipped aquafaba for a vegan, lighter option and use a dairy-free cream cheese.
- Berry swirl: Fold a tablespoon or two of raspberry or strawberry jam into half the filling and swirl for a lovely marbled look.
- Citrus trio: Add a tablespoon of orange zest and a splash of lime juice for a more complex citrus profile.
- Nutty crust: Swap graham crackers for crushed pecans or almonds for added texture and a richer flavor.
- Boozy adult twist: A tablespoon of limoncello folded into the filling adds grown-up brightness.
Serving Suggestions
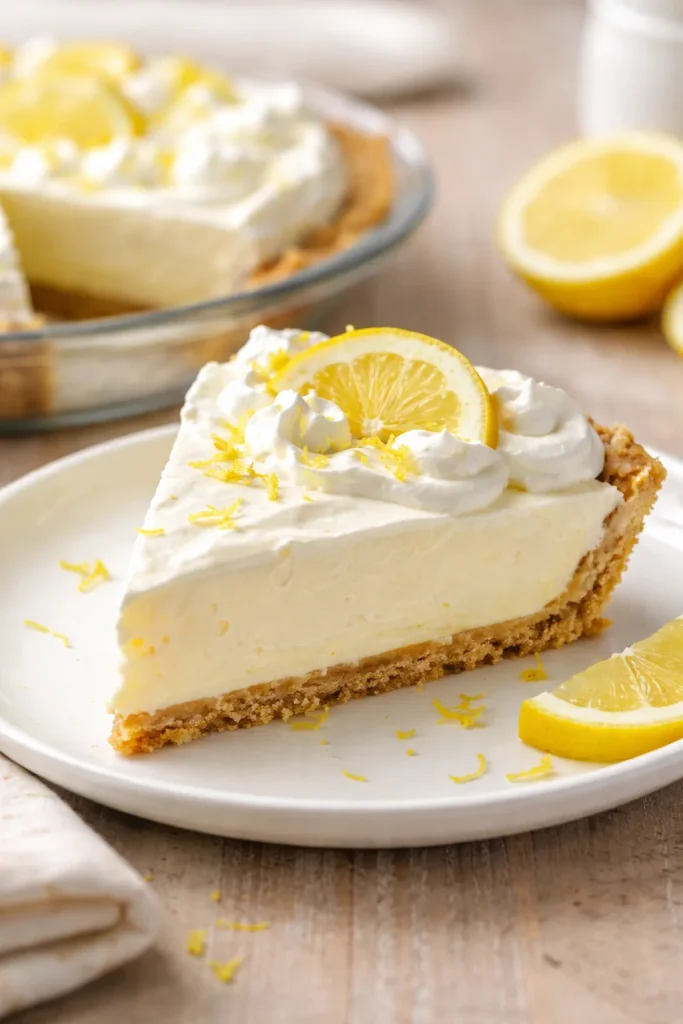
Serve slices on simple white plates to spotlight the pie’s pale lemon hue. Pair with a cup of tea or sparkling lemonade and let the contrast of hot and cold create a cozy rhythm. For a festive touch, top each slice with a mint sprig and a dusting of powdered sugar. This pie is lovely after a light summer dinner, at a bridal shower, or tucked into a family picnic — it tastes like sunshine and conversation.
Storage and Reheating
Store leftover pie covered in the refrigerator for up to 4 days. Because it is a chilled, no-bake dessert, it doesn’t freeze as well (the texture can change), but you can freeze the crust separately for up to 1 month and assemble fresh filling when ready. There’s no reheating needed — simply slice straight from the fridge and enjoy.
Kitchen Tips for Success
- Soften the cream cheese to room temperature to avoid lumps in the filling.
- Chill your mixing bowl and beaters for the whipped cream to whip faster and hold peaks better.
- Press the crust firmly and evenly to prevent crumbling when you slice.
- Use fresh lemon juice for brightest flavor — bottled lemon can be bitter.
- Run your slicing knife under hot water and wipe it between cuts for neat, restaurant-style slices.
FAQs
Q: Can I make this pie ahead of time?
A: Absolutely — in fact, it’s better after chilling overnight. Make it a day ahead for easy entertaining.
Q: Can I use low-fat cream cheese or condensed milk?
A: Yes, you can, but the texture will be lighter and less rich. For a healthier option, consider a reduced-fat cream cheese and look for low-sugar condensed milk alternatives.
Q: How many does this pie serve?
A: A 9-inch pie yields about 8 generous slices or 10 smaller ones for a party.
Q: Can this be converted to a tart or individual servings?
A: Yes — press the crust into small tart pans or mason jars, and divide the filling for adorable single-serve desserts.
Conclusion
This No-Bake Cream Cheese Lemonade Pie is more than a dessert — it is a small celebration of citrus, cream, and easy comfort that brings people together. It’s perfect for lazy afternoons, surprise guests, or when you want an indulgent dessert that still feels like a homemade meal and family recipe. If you want to peek at another version or draw inspiration from a tried-and-true write-up, see the lovely original No Bake Cream Cheese Lemonade Pie – Cakescottage. Invite a friend, slice a wedge, and let this pie be the reason for a small, sunlit celebration today.
No-Bake Cream Cheese Lemonade Pie
Ingredients
Method
- In a medium bowl, mix the graham cracker crumbs and melted butter until the texture resembles wet sand. Press the mixture evenly into the base and up the sides of a 9-inch pie pan.
- Place the crust in the refrigerator for about 10 to 15 minutes to firm up.
- In a chilled bowl, whip the cold heavy cream with an electric mixer to soft peaks.
- In a separate bowl, beat the softened cream cheese with the sweetened condensed milk, lemon juice, lemon zest, vanilla, and salt until smooth.
- Fold the whipped cream into the cream cheese mixture in two additions, using a spatula to keep the airy texture.
- Spoon the filling into the chilled crust and smooth the top. Refrigerate for at least 3 hours, or overnight for a firmer slice.
- Garnish just before serving with lemon slices or candied peel.
- Use a sharp, warm knife to cut clean slices. Serve chilled.