why make this recipe
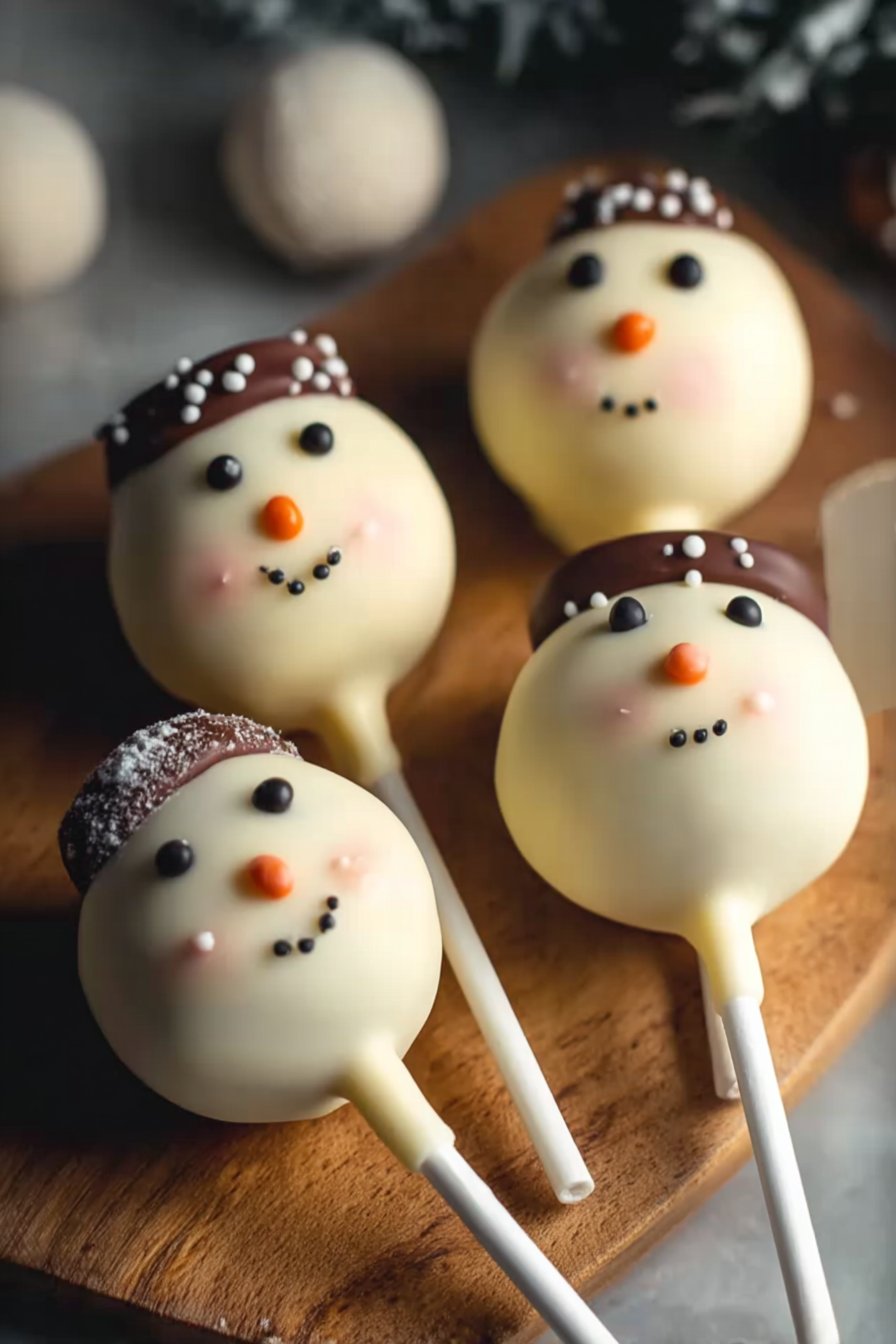
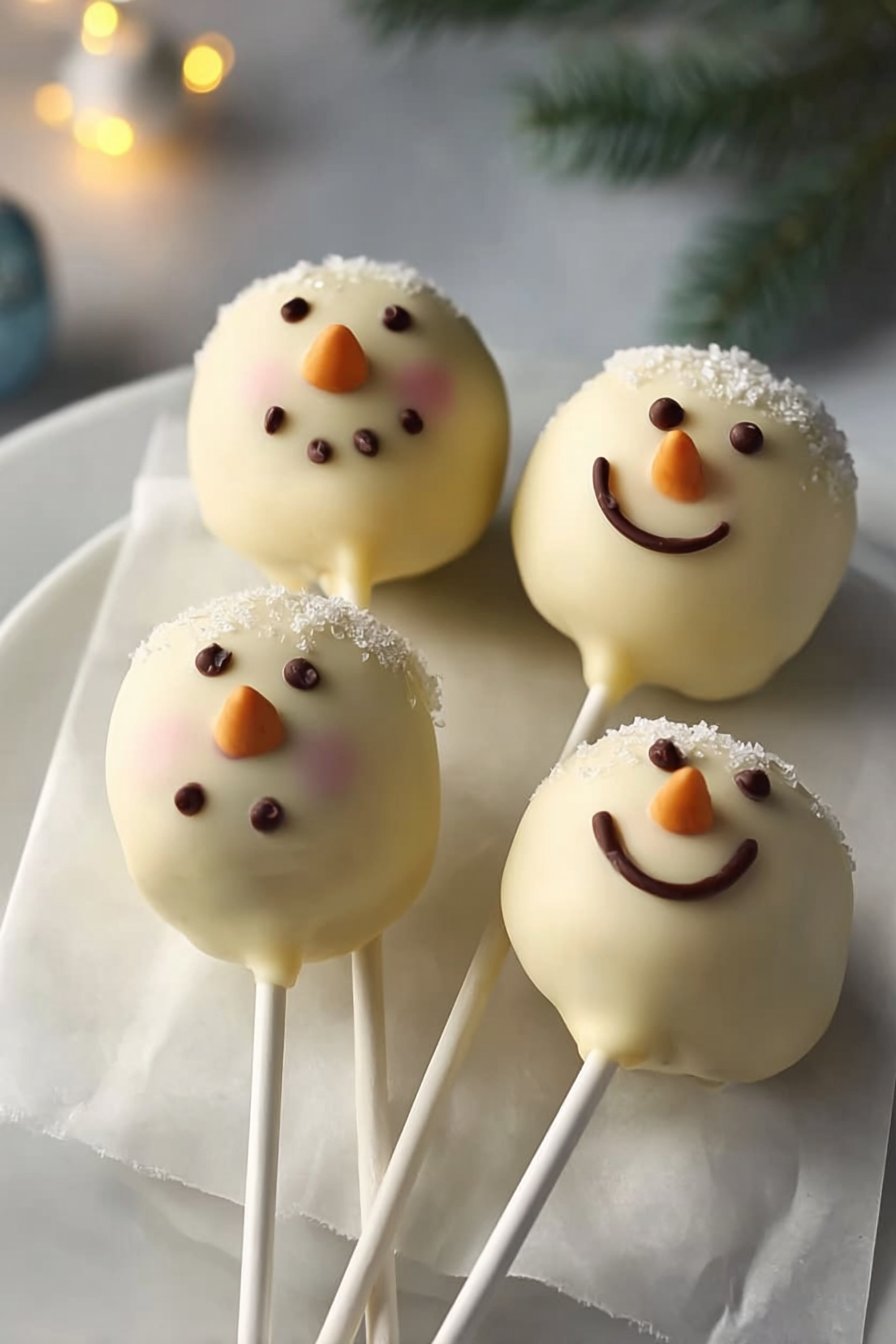
Snowman Cake Pops are a joyful, bite-sized dessert that bring festive charm to holiday parties, school events, or cozy family evenings. They combine familiar cake-and-frosting flavors with playful decoration, making them an easy way to impress guests without needing advanced pastry skills. If you enjoy projects that double as centerpieces, these pops are a perfect choice — and if you like trying other seasonal desserts, check out this Apple Pecan Cake with Caramel Glaze for another crowd-pleaser.
introduction
This recipe walks you through turning crumbled cake and frosting into snowy, smiling snowmen on sticks. The method is forgiving — you can use leftover cake or a boxed mix — and decorations are flexible, so kids can join in. The finished pops are great for gifting or displaying on a decorated platter.
how to make Snowman Cake Pops
The process has four main steps: bake (or use leftover) cake, crumble and mix with frosting, shape and chill, then dip and decorate. Start by preparing a simple vanilla or chocolate cake. Once cooled, crumble it finely, mix with cream cheese or buttercream until it holds together, form into stacked balls on lollipop sticks, chill thoroughly, then coat in white candy melts and add facial features and scarves with colored icing and sprinkles.
Ingredients :
- 2 cups crumbled baked cake (vanilla or chocolate; about one 9-inch layer or a boxed mix baked and cooled)
- 1/2 to 3/4 cup frosting (cream cheese or buttercream), adjust until mixture holds
- 12–16 candy melts or white dipping chocolate (about 10–12 oz)
- 12–16 lollipop sticks
- Orange decorating gel or tiny orange candies (for noses)
- Black decorating gel, mini chocolate chips, or edible marker (for eyes and mouths)
- Colored candy melts or melted white candy tinted with food coloring (for scarves and hats)
- Sprinkles, edible glitter, or sanding sugar (optional)
- Parchment paper and a styrofoam block or cake pop stand for drying
Directions :
- Bake a single-layer 9-inch cake according to your favorite recipe or box instructions. Cool completely.
- Crumble the cake into a large bowl until fine crumbs form.
- Add 1/2 cup frosting and mix thoroughly. Add more frosting a tablespoon at a time until the mixture holds together when pressed.
- Shape the mixture into two sizes of balls for each snowman: one smaller (about 1 inch) for the head and one larger (about 1.5 inches) for the body. Make 12–16 snowmen.
- Chill the shaped balls on a baking sheet for 15–30 minutes, or until firm.
- Melt white candy melts in a microwave-safe bowl, stirring every 15–20 seconds until smooth.
- Dip the tip of a lollipop stick into the melted candy, insert into the larger body ball about halfway, then add the head on top, securing with a bit of melted candy between them. Return to chill briefly to set.
- Fully coat each assembled snowman in the white candy melt by dipping or spooning and gently tapping off excess. Place on parchment to set.
- While the coating is still tacky, add eyes, mouth, and nose using decorating gels, melted chocolate, or tiny candies. Use colored melts to pipe on scarves and hats; add sprinkles for buttons.
- Chill until completely set, then transfer to a display or storage container.
how to serve Snowman Cake Pops
Arrange the cake pops upright in a styrofoam block or a decorated vase filled with tissue paper or colorful candies. For a party, display them on a platter with holiday greenery or use them as place settings by inserting name tags on the sticks. Serve at room temperature so the coating isn’t too hard to bite through.
how to store Snowman Cake Pops
Store cake pops in an airtight container in the refrigerator for up to 5 days. For longer storage, freeze in a single layer on a baking sheet until solid, then transfer to a freezer-safe container for up to 1 month. Thaw in the refrigerator before serving to preserve decoration.
tips to make Snowman Cake Pops
- Use chilled cake balls: cold, firm balls reduce crumbling when you insert sticks.
- Use candy melts with a small amount of vegetable shortening to thin the coating for a smoother dip.
- Work in small batches: if melted coating cools and thickens, gently reheat in short bursts.
- For neater faces, pipe dots for eyes and mouths with a fine piping tip or use edible markers once the coating is fully set.
- If a snowman topples, use leftover melted candy as glue to reattach, then chill.
- Practice on one or two pops to refine dipping and decorating technique before finishing the whole batch.
variation (if any)
- Chocolate Snowmen: use chocolate cake and dark chocolate coating, decorate with white accents.
- Mini Snowmen: make smaller 3/4-inch and 1-inch balls for bite-sized versions.
- Flavored Coating: add a teaspoon of peppermint extract to white melts for a festive minty twist.
- Vegan/Dairy-Free: use vegan cake and frosting recipes and dairy-free candy melts.
FAQ
Q: Can I use store-bought cake?
A: Yes — using a boxed cake or leftover cake works fine. The cake should be moist but not soggy.
Q: How do I keep the candy coating shiny?
A: Avoid condensation by keeping pops at stable cool temperatures; add a tiny amount of shortening to the coating for extra sheen.
Q: Are there alternatives to lollipop sticks?
A: You can display mini snowmen without sticks on a platter or insert toothpicks for tiny versions.
Conclusion
For a step-by-step visual guide and extra decoration ideas, see this detailed Snowman Cake Pops tutorial: Snowman Cake Pops – How to Make Snowman Cake Balls for …

Snowman Cake Pops
Ingredients
Method
- Bake a single-layer 9-inch cake according to your favorite recipe or box instructions. Cool completely.
- Crumble the cake into a large bowl until fine crumbs form.
- Add 1/2 cup frosting and mix thoroughly. Add more frosting a tablespoon at a time until the mixture holds together when pressed.
- Shape the mixture into two sizes of balls for each snowman: one smaller (about 1 inch) for the head and one larger (about 1.5 inches) for the body. Make 12–16 snowmen.
- Chill the shaped balls on a baking sheet for 15–30 minutes, or until firm.
- Melt white candy melts in a microwave-safe bowl, stirring every 15–20 seconds until smooth.
- Dip the tip of a lollipop stick into the melted candy, insert into the larger body ball about halfway, then add the head on top, securing with a bit of melted candy between them. Return to chill briefly to set.
- Fully coat each assembled snowman in the white candy melt by dipping or spooning and gently tapping off excess. Place on parchment to set.
- While the coating is still tacky, add eyes, mouth, and nose using decorating gels, melted chocolate, or tiny candies. Use colored melts to pipe on scarves and hats; add sprinkles for buttons.
- Chill until completely set, then transfer to a display or storage container.