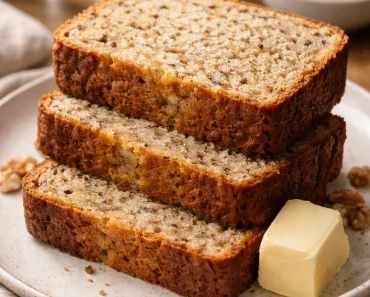
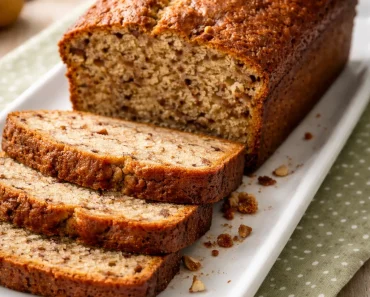
Date Nut Bread: A Cozy Slice of Tradition You may also find Banana Nut Bread useful.
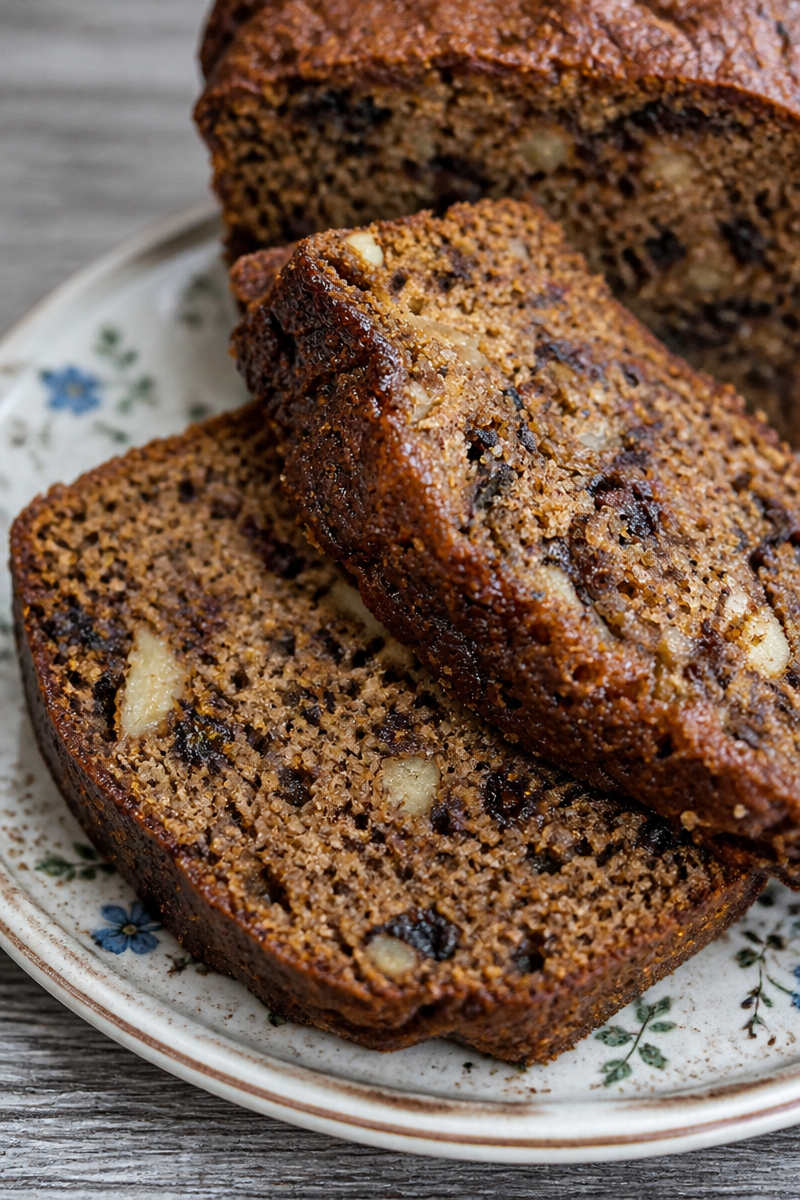
There’s something beautifully nostalgic about the aroma of freshly baked bread wafting through a warm kitchen. The scent dances through the air, wrapping around you like a favorite sweater as you recall cherished moments spent with loved ones. This Date Nut Bread recipe is no exception; it brings with it the comfort of home and the joy of gathering together to share delightful stories over a warm slice slathered with butter. Not only is this recipe simple to whip up, but it also results in a cake-like, moist texture that pairs perfectly with coffee or tea. If you’re looking for a comforting treat that feels like a homemade hug, then keep reading — this is the recipe for you.
Why You’ll Love This Recipe
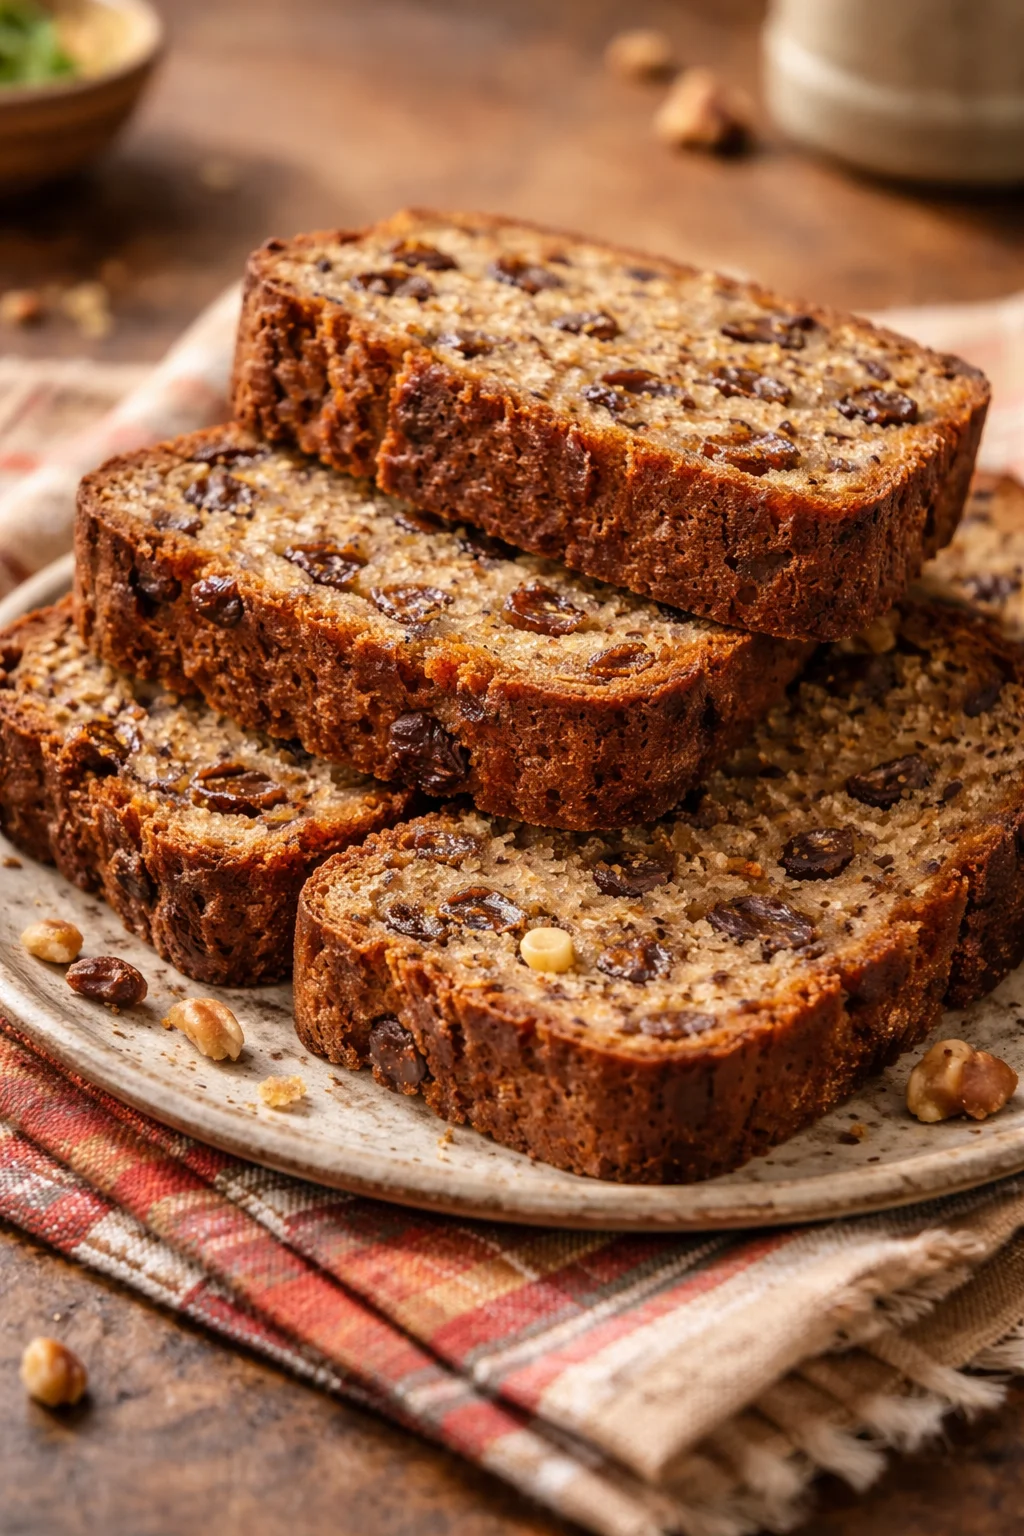
- Delicious Flavors: The sweet, caramel-like taste of dates combined with crunchy nuts creates a unique flavor profile that’s hard to resist.
- Easy to Prepare: With just a few ingredients and straightforward steps, this bread can be ready without fuss.
- Crowd-Pleasing: A hit at gatherings, this bread delights everyone from kids to grandparents.
- Budget-Friendly: This recipe utilizes simple ingredients you may already have in your pantry.
- Versatile: Enjoy it as a snack, breakfast treat, or even a light dessert.
Ingredients
- 1 cup chopped dates, pitted
- 1 cup boiling water
- 1 teaspoon baking soda
- 1/4 cup butter, softened (feel free to substitute with coconut oil for a dairy-free option)
- 1 cup sugar (you can use brown sugar for a deeper flavor)
- 2 large eggs
- 1 teaspoon vanilla extract
- 1 3/4 cups all-purpose flour (or whole wheat for a healthier twist)
- 1/2 cup chopped nuts (walnuts or pecans work wonderfully)
Prep and Cook Time
- Prep Time: 15 minutes
- Cook Time: 50 minutes
- Total Time: 1 hour 5 minutes
This Date Nut Bread is perfect for preparing ahead of time; it stores well and develops even more flavor after a day or two.
Step-by-Step Instructions
- Preheat your oven to 350°F (175°C) and grease a loaf pan.
- In a small bowl, combine the chopped dates with boiling water and baking soda. Let this mixture sit while you prepare the other ingredients — it softens the dates nicely.
- In a large bowl, cream together the softened butter and sugar until the mixture is light and fluffy.
- Beat in the eggs one at a time, ensuring each is well incorporated before adding the next. Stir in the vanilla extract.
- Gradually stir in the date mixture, ensuring it’s evenly mixed.
- Slowly fold in the flour until just combined, taking care not to over-mix. Finally, stir in the chopped nuts.
- Pour the batter into the prepared loaf pan and smooth the top.
- Bake in the preheated oven for about 50 minutes or until a toothpick inserted in the center comes out clean.
- Allow the bread to cool in the pan for about 10 minutes before transferring it to a wire rack to cool completely.
Variations and Twists
There are so many ways to make this recipe your own! For a healthier option, you might want to substitute some of the all-purpose flour with almond flour. If you’re in the mood for something festive, try adding spices such as cinnamon or nutmeg to the batter, or fold in some dried fruits like cranberries or raisins. The possibilities are endless!
Serving Suggestions
This Date Nut Bread is delightful on its own but can be enhanced with a variety of toppings. Serve it warm with a pat of salted butter, or spread a layer of cream cheese for a bit of indulgence. It’s also amazing with a cup of hot coffee for breakfast or as an afternoon snack. For festive occasions, you can even slice it and serve it alongside a cheese platter for a sweet-savory experience.
Storage and Reheating
To keep your Date Nut Bread fresh, wrap it in plastic wrap or store it in an airtight container at room temperature for up to five days. You can also freeze the bread for up to three months; simply slice it first, then wrap it tightly before freezing. When you want to enjoy a slice, just let it thaw overnight in the refrigerator or pop it in the microwave for a few seconds to warm it up.
Kitchen Tips for Success
- Make sure your dates are fresh; if they feel hard or dried out, soak them longer in boiling water.
- For a deeper flavor, toast the nuts before adding them to the batter.
- Avoid over-mixing the batter, as this can make your bread tough.
- Test for doneness earlier than the suggested time, as oven temperatures can vary.
FAQs
- Can I substitute the dates? Yes, you can try using figs or prunes if you prefer, but the flavor will change slightly.
- Is this recipe easily meal-prepped? Absolutely! You can bake it ahead of time and simply store it in the refrigerator or freezer.
- How much does this recipe yield? This recipe typically makes one standard loaf.
Conclusion
Baking this Date Nut Bread is not just about satisfying your sweet tooth; it’s about creating memories and fond moments in the kitchen. Each slice encapsulates warmth, comfort, and the simple joys of home-cooked goodness. So roll up your sleeves, gather your ingredients, and start creating this delightful bread. If you’re itching for a twist, don’t forget to check out Grandma’s Recipe of the Month – Mrs. Gordon’s Date Nut Bread for a different take on this classic! Enjoy sharing this masterpiece with friends and family, and let the love of baking fill your home.
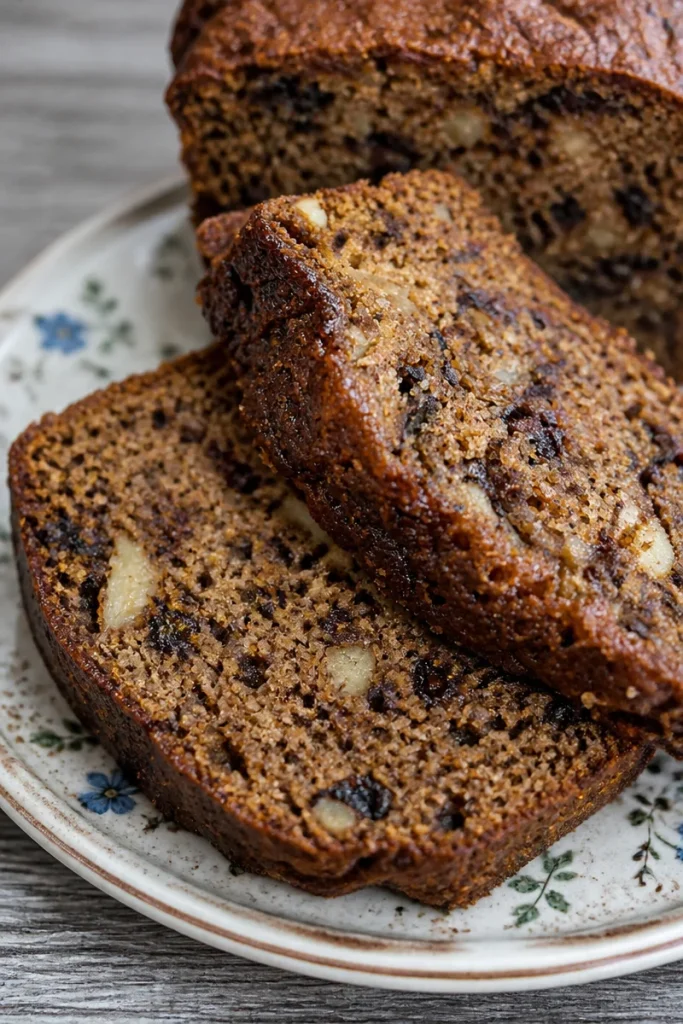
Date Nut Bread
Ingredients
Method
- Preheat your oven to 350°F (175°C) and grease a loaf pan.
- In a small bowl, combine the chopped dates with boiling water and baking soda. Let this mixture sit while you prepare the other ingredients.
- In a large bowl, cream together the softened butter and sugar until the mixture is light and fluffy.
- Beat in the eggs one at a time, ensuring each is well incorporated before adding the next. Stir in the vanilla extract.
- Gradually stir in the date mixture, ensuring it’s evenly mixed.
- Slowly fold in the flour until just combined, taking care not to over-mix. Finally, stir in the chopped nuts.
- Pour the batter into the prepared loaf pan and smooth the top.
- Bake in the preheated oven for about 50 minutes or until a toothpick inserted in the center comes out clean.
- Allow the bread to cool in the pan for about 10 minutes before transferring it to a wire rack to cool completely.