why make this recipe
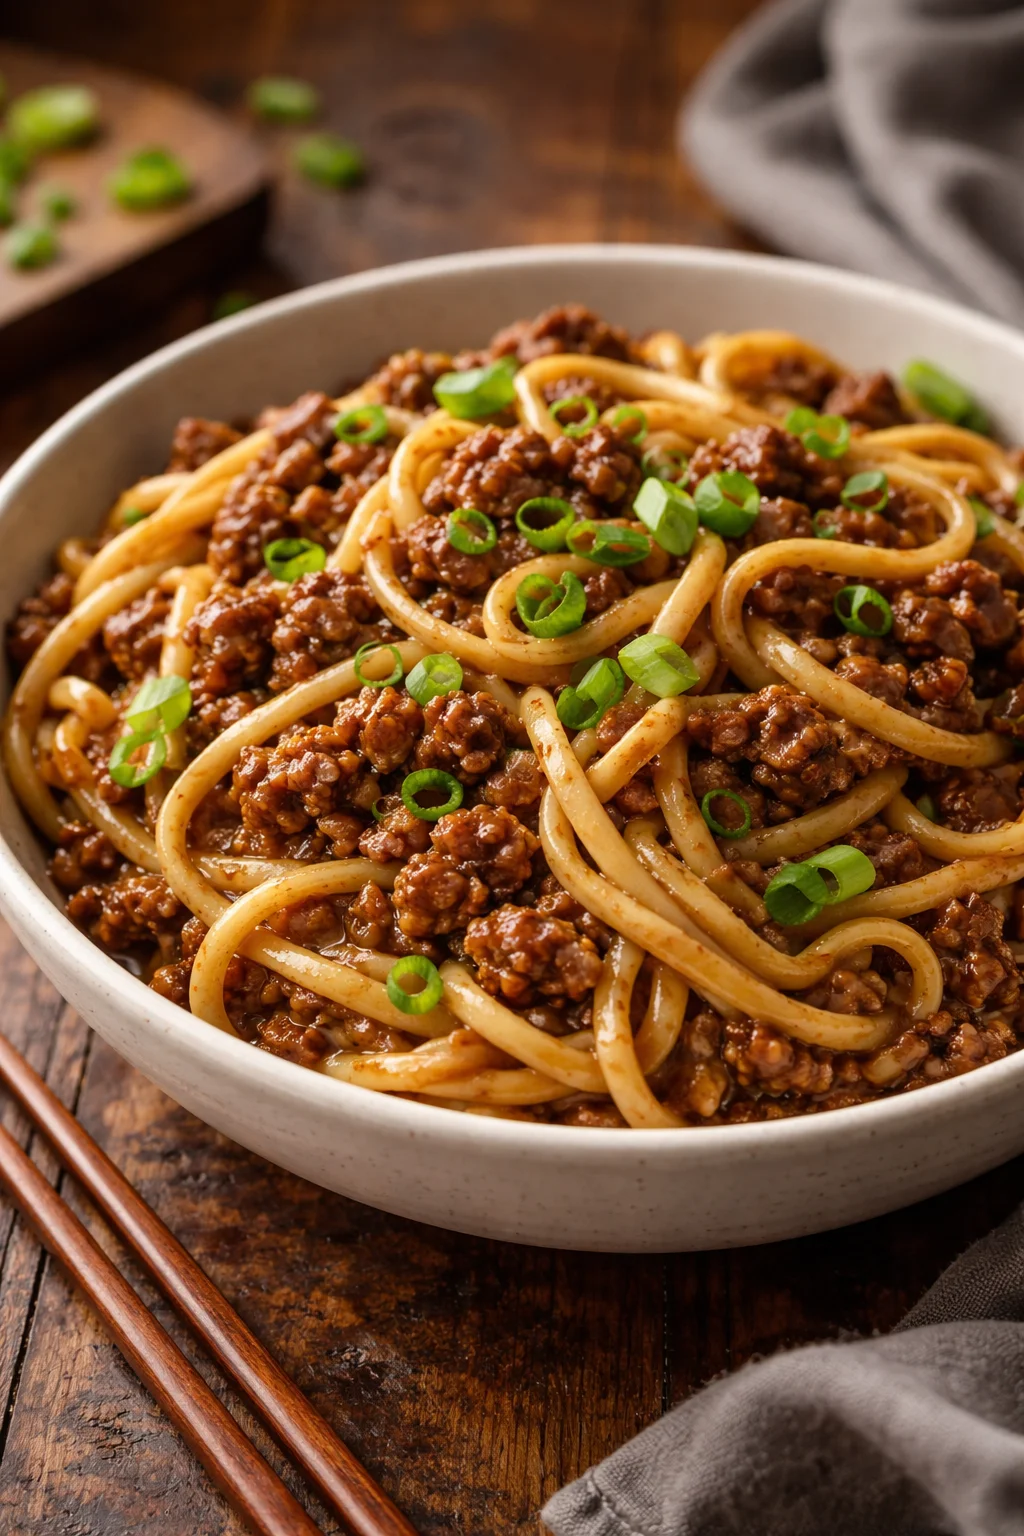
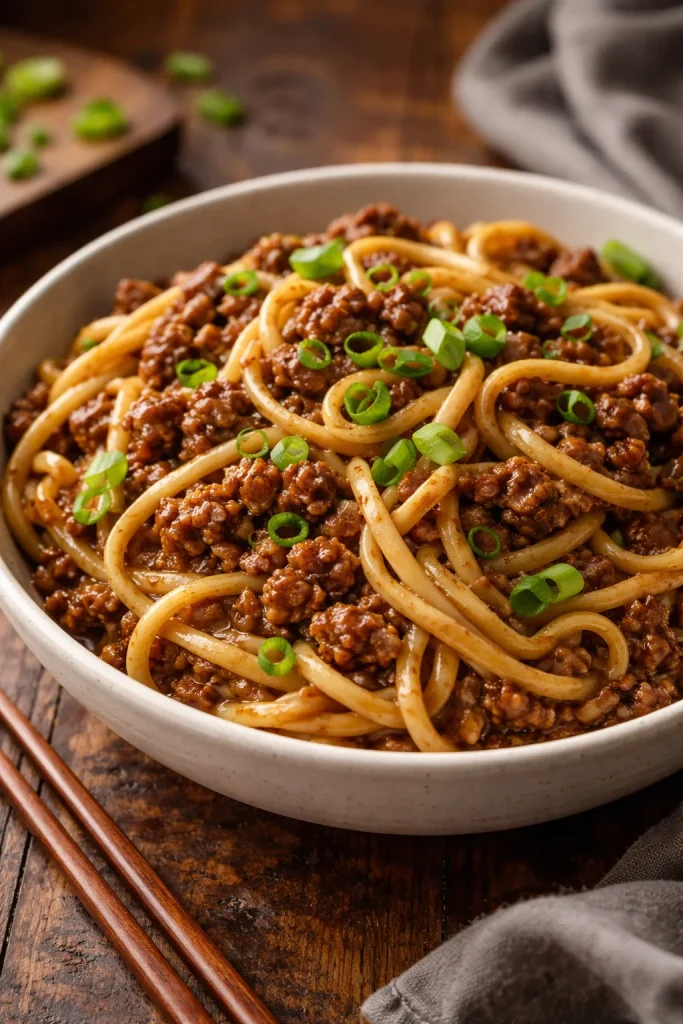
Mongolian Ground Beef Noodles is a fast, flavorful weeknight meal that combines sweet-savory sauce with tender ground beef and long noodles for easy, family-friendly comfort. It uses pantry staples and cooks quickly, making it ideal when you want bold Asian-inspired flavors without a lot of effort.
introduction
This version of Mongolian-style noodles swaps the typical sliced beef for ground beef and pairs it with linguine for a simple, satisfying dish. The sauce is sweetened with brown sugar and balanced with soy sauce, hoisin, and a touch of ginger and garlic. Ready in under 30 minutes, it’s great for busy nights or meal-prep lunches.
how to make Mongolian Ground Beef Noodles
Ingredients :
- 1 lb ground beef
- 5 cloves garlic, minced
- 1/3 cup brown sugar
- 1/4 cup beef broth
- 1/3 cup soy sauce
- 3 tablespoons hoisin sauce
- 1/2 teaspoon ground ginger
- 1/2 teaspoon ground black pepper
- Pinch of red pepper flakes (optional for a spicy kick)
- 10 oz linguine
- 1 tablespoon cornstarch
- 2 tablespoons water
- 4 green onions, sliced for garnish
Directions :
- Begin by cooking the linguine according to the package instructions. Once cooked, drain and set aside.
- In a large skillet, cook the ground beef over medium heat until it is browned and cooked through. Drain any excess fat.
- Add the minced garlic to the browned beef and cook for about 1 minute until fragrant.
- Stir in the brown sugar, beef broth, soy sauce, hoisin sauce, ground ginger, ground black pepper, and red pepper flakes if using. Stir well to combine all the flavors.
- In a small bowl, mix the cornstarch with water to create a slurry. Add this mixture to the skillet and stir until the sauce thickens, about 2–3 minutes.
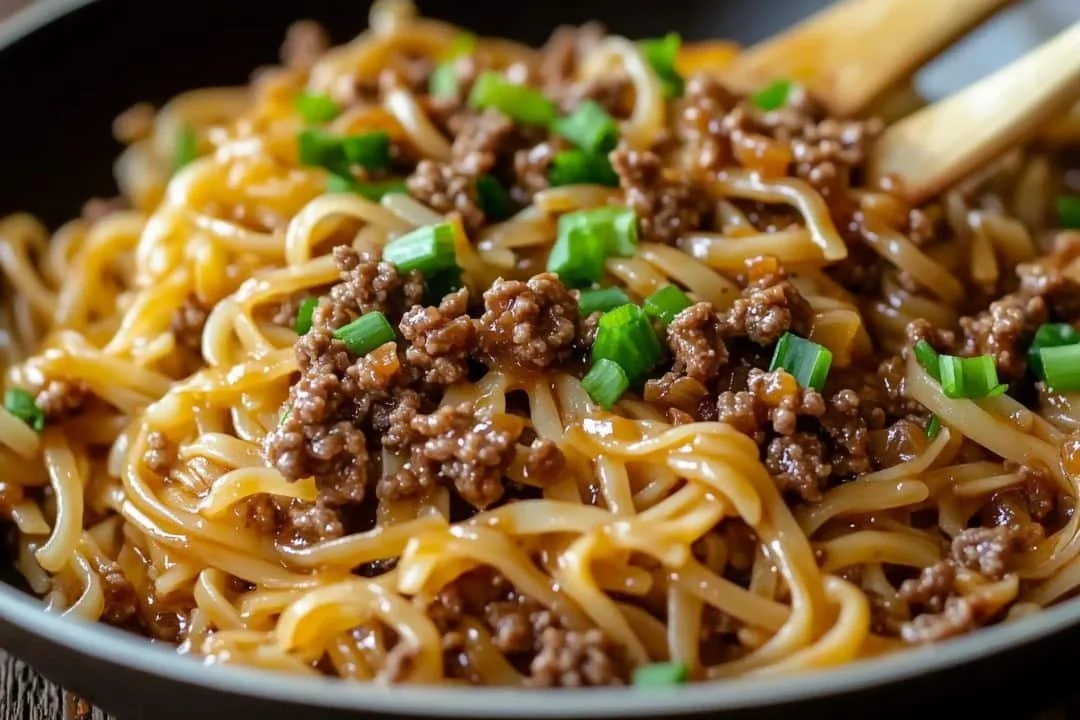
- Once the sauce has thickened, add the cooked linguine to the skillet. Toss the noodles in the sauce until they are well coated.
- Garnish the dish with sliced green onions and serve hot.
how to serve Mongolian Ground Beef Noodles
Serve hot straight from the pan with extra sliced green onions on top. Complement the meal with steamed or stir-fried vegetables (broccoli, snap peas, or bok choy), a side of pickled cucumbers, or simple steamed rice if you want to stretch the meal. Offer chili oil or extra red pepper flakes at the table for guests who like more heat.
how to store Mongolian Ground Beef Noodles
Cool leftovers to room temperature (no more than 2 hours), then transfer to an airtight container. Store in the refrigerator for up to 3–4 days. Reheat gently in a skillet with a splash of water or beef broth to loosen the sauce, or microwave in short intervals, stirring between, until warmed through.
tips to make Mongolian Ground Beef Noodles
- Browning the beef well adds flavor—let it develop some color before breaking it up.
- Adjust sweetness and saltiness to taste: add more brown sugar for sweetness or more soy sauce for saltiness.
- If the sauce gets too thick after refrigeration, thin with a little hot water or broth when reheating.
- For deeper flavor, use low-sodium soy sauce and add a splash of sesame oil at the end.
- Use freshly minced garlic and freshly ground black pepper for the best aromatic punch.
variation (if any)
- Swap linguine for egg noodles, lo mein, or rice noodles for a different texture.
- Make it leaner by using ground turkey or chicken.
- For a vegetarian version, use crumbled tofu or tempeh and vegetable broth in place of beef broth.
- Add vegetables directly to the skillet—carrots, bell peppers, mushrooms, or snap peas—to make it a one-pan meal.
FAQ
Q: Can I make this dish gluten-free?
A: Yes—use gluten-free soy sauce (tamari) and gluten-free noodles.
Q: Is it spicy?
A: The base recipe is mild; add red pepper flakes or sriracha to increase heat.
Q: Can I freeze leftovers?
A: Saucy noodle dishes can be frozen, but the texture may change. Freeze in airtight containers for up to 2 months and thaw overnight in the fridge before reheating.
Conclusion
For the original source and a step-by-step reference, see the full recipe for Mongolian Ground Beef Noodles.
Mongolian Ground Beef Noodles
Ingredients
Method
- Cook the linguine according to the package instructions. Once cooked, drain and set aside.
- In a large skillet, cook the ground beef over medium heat until browned and cooked through. Drain excess fat.
- Add the minced garlic and cook for about 1 minute until fragrant.
- Stir in the brown sugar, beef broth, soy sauce, hoisin sauce, ground ginger, ground black pepper, and red pepper flakes if using. Mix well.
- In a small bowl, mix the cornstarch with water to create a slurry. Add to the skillet and stir until the sauce thickens, about 2–3 minutes.
- Add the cooked linguine to the skillet and toss until well coated in the sauce.
- Garnish with sliced green onions and serve hot.