Cheesy Oven-Crispy Chicken Bacon Ranch Tacos You may also find Baked Chicken Bacon Ranch Tacos useful.
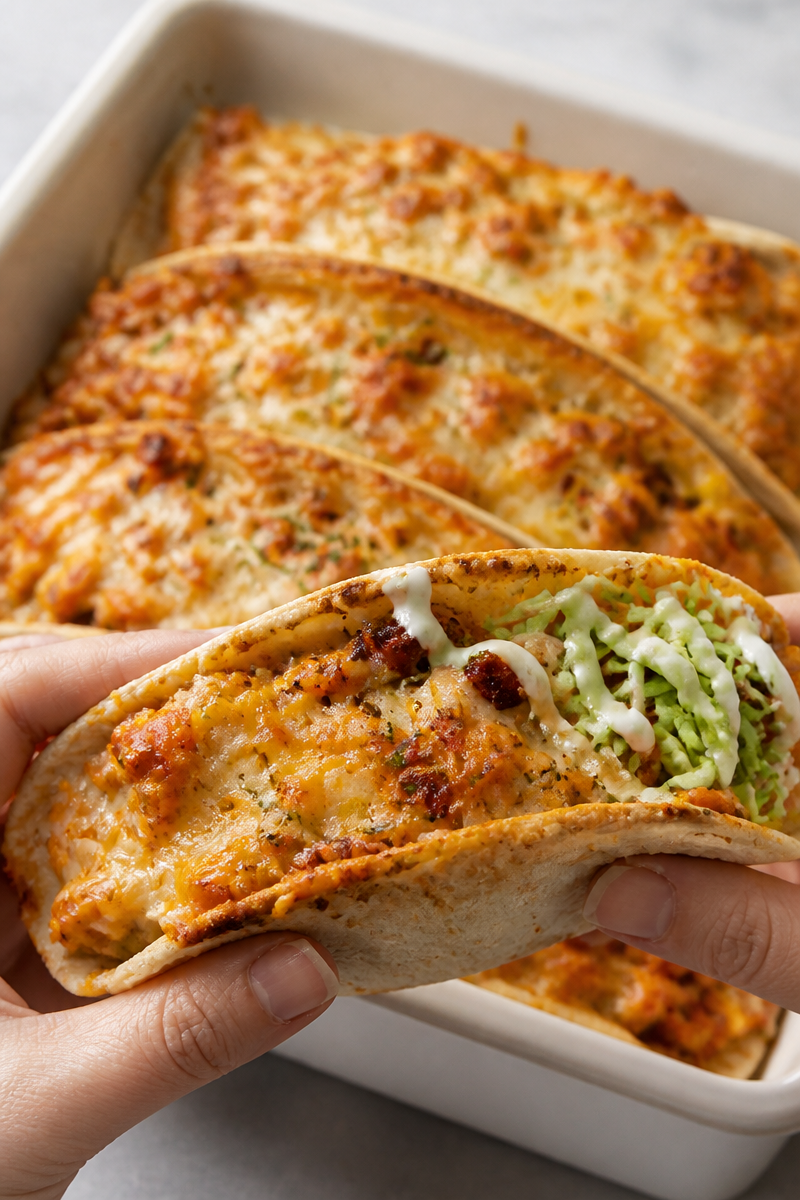
There’s something undeniably delightful about the harmony of flavors in Cheesy Oven-Crispy Chicken Bacon Ranch Tacos. The crispy, cheesy topping combined with succulent chicken and savory bacon wraps you in a warm embrace that feels just like home. Each bite tells a story, a memory of family dinners where laughter and love are just as important as the food on the table. As you gather around for this delicious homemade meal, you’ll find that each taco brings a little joy, transforming a simple dinner into a cherished occasion.
Why You’ll Love This Recipe
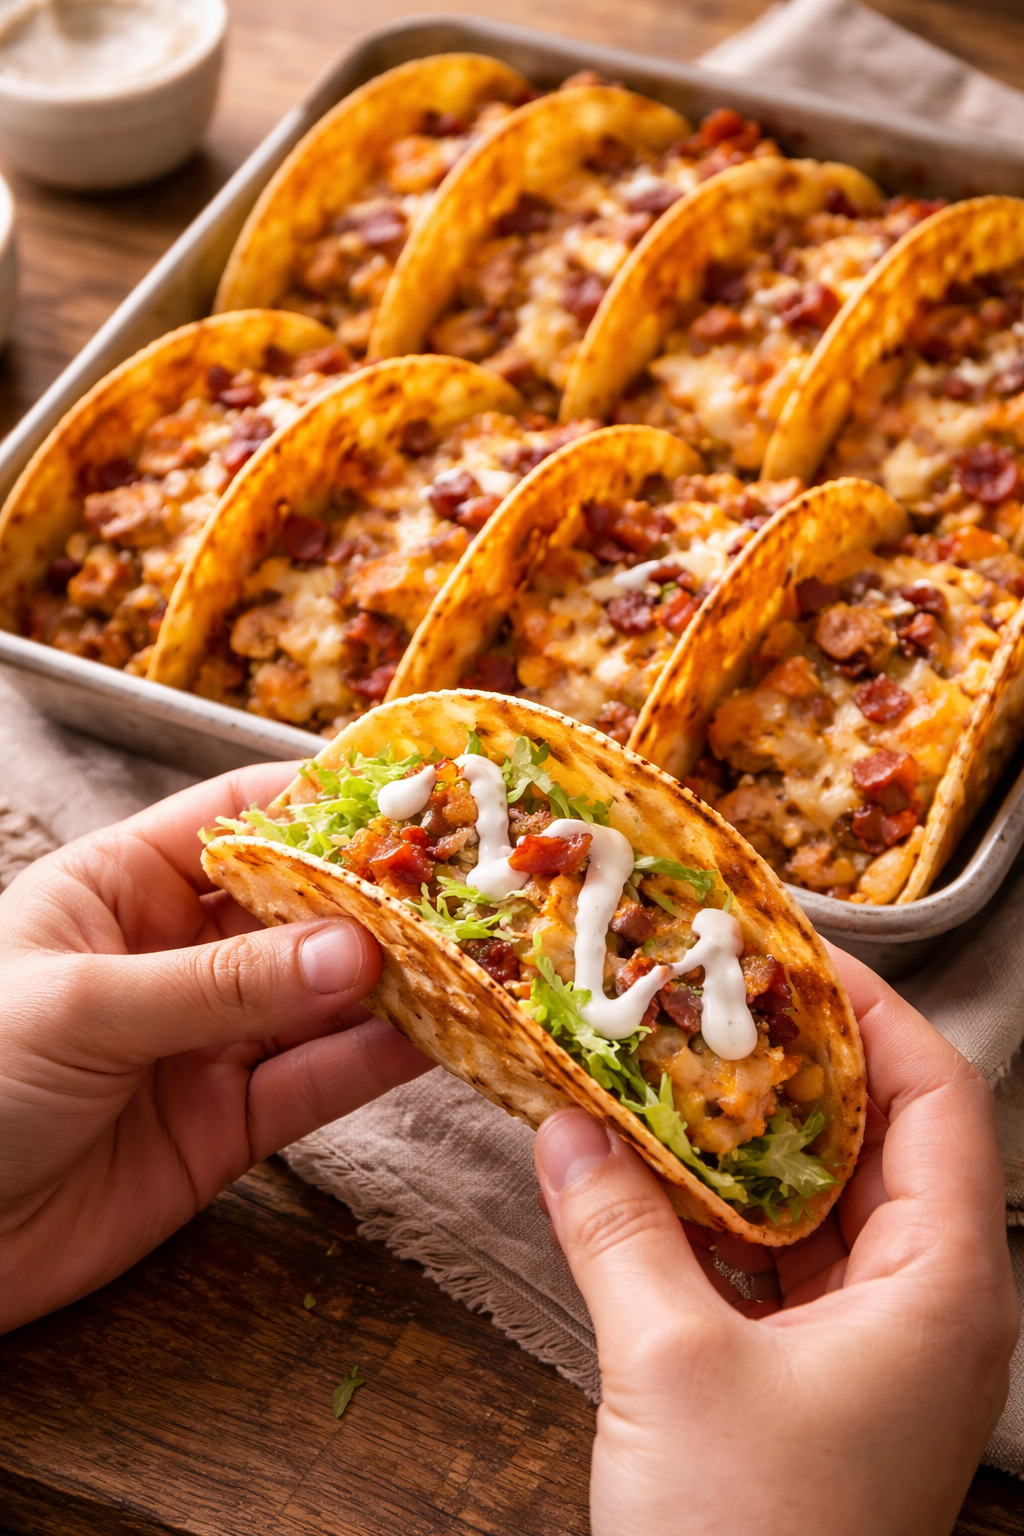
- Delicious Flavors: The blend of chicken, bacon, and ranch seasoning creates a mouthwatering symphony of taste.
- Easy to Prepare: Quick prep means you can whip this up even on busy nights.
- Crowd-Pleasing: Perfect for family dinners, parties, or casual get-togethers with friends.
- Budget-Friendly: Utilizing common ingredients keeps costs low while maximizing flavor.
- Comforting Meal: These tacos bring that warm, cozy feel that we all crave, making dinner feel special and inviting.
Ingredients
To create these delicious Cheesy Oven-Crispy Chicken Bacon Ranch Tacos, gather the following ingredients:
- 2 cups cooked chicken, shredded (swap rotisserie chicken for an effortless option)
- 1 cup cooked bacon, chopped (substituting turkey bacon will cut down on calories)
- 1 cup ranch dressing (for a healthier twist, try a homemade version)
- 1 cup cheese, shredded (mix cheddar and mozzarella for added flavor)
- 8 taco shells (try whole wheat or corn for different textures)
- Fresh parsley, chopped (for garnish)
Prep and Cook Time
- Prep Time: 15 minutes
- Cook Time: 20 minutes
- Total Time: 35 minutes
This recipe is perfect for a quick weeknight dinner and can easily be made ahead of time for those busy evenings.
Step-by-Step Instructions
-
Preheat your oven to 350°F (175°C). The anticipation of that warm, cheesy aroma filling your kitchen is just the beginning of the excitement.
-
In a large bowl, combine the shredded chicken, chopped bacon, and ranch dressing. Mix until everything is well-coated; the creamy ranch coats each piece perfectly.
-
Carefully spoon the mixture into each taco shell, generously filling them to create a satisfying meal.
-
Place the filled taco shells on a baking dish and sprinkle the shredded cheese on top. Remember, the more cheese, the better!
-
Bake in the preheated oven for 15-20 minutes, or until the cheese is melted and bubbling. Don’t be alarmed if you hear a little sizzle; it’s the sound of deliciousness.
-
Remove from the oven and let them cool for a few minutes. Garnish with fresh parsley to add a pop of color and freshness.
-
Serve warm and watch everyone enjoy these cheesy delights!
Variations and Twists
This recipe is versatile! Here are a few fun ideas to customize your tacos:
- Healthy Swaps: Instead of regular ranch dressing, use a Greek yogurt-based ranch for a creamy, lower-calorie option.
- Spicy Kick: Add jalapeños or a dash of hot sauce into the chicken mixture to spice things up.
- Festive Version: For a seasonal twist, consider adding roasted pumpkin or butternut squash for a touch of sweetness and warmth.
- Regional Spins: Go Tex-Mex by adding black beans and corn, or even top with some avocado for a fresh finish.
Serving Suggestions
These tacos are the star of the show! Pair them with a simple side salad or some grilled vegetables for a balanced meal. For a relaxed gathering, set up a taco bar with toppings like diced tomatoes, sliced olives, or guacamole, allowing everyone to personalize their plate. They’re also fantastic served at parties, casual dinners, or even during game day, bringing smiles to all who enjoy them.
Storage and Reheating
If you have leftovers (though they’re hard to resist!), store them in an airtight container in the refrigerator for up to three days. Reheat in the oven at 350°F until warmed through to maintain the crispy texture. Alternatively, you can microwave them, but they may lose some of that delightful crunch.
Kitchen Tips for Success
- Don’t Overfill: Make sure not to overstuff the taco shells; it will make them harder to handle when eating.
- Crispier Texture: For extra crunch, consider briefly broiling the tacos at the end of the baking for 1-2 minutes, keeping a close eye to prevent burning.
- Use Fresh Ingredients: Freshly shredded cheese will melt better compared to pre-shredded versions, which often contain anti-caking agents.
- Mix It Up: Feel free to experiment with your favorite toppings; olives, diced onions, or sour cream can elevate the flavors and textures.
FAQs
-
Can I use a different type of meat?
Absolutely! Ground turkey or beef can also work well in this recipe. -
Can these tacos be made ahead of time?
Yes, you can assemble them ahead of time and bake just before serving. -
How can I make these vegetarian?
Substitute the chicken with black beans, lentils, or grilled vegetables. -
What if I can’t find ranch dressing?
A homemade ranch seasoning mix with yogurt or sour cream can serve as a delicious alternative. -
Can I freeze these tacos?
You can freeze the assembled tacos without the cheese; just bake them fresh when you’re ready to enjoy.
Conclusion
Cheesy Oven-Crispy Chicken Bacon Ranch Tacos are not only a feast for the taste buds but also a warm invitation to share moments with loved ones. The joy of cooking and sharing this delectable dish will surely create cherished memories at your dinner table. For more inspiration, check out this recipe for The Best Baked Chicken Bacon Ranch Tacos | Cheesy & Oven-Crispy. Embrace the fun, get cooking, and enjoy the love that comes with every taco!
Cheesy Oven-Crispy Chicken Bacon Ranch Tacos
Ingredients
Method
- Preheat your oven to 350°F (175°C).
- In a large bowl, combine the shredded chicken, chopped bacon, and ranch dressing. Mix until everything is well-coated.
- Carefully spoon the mixture into each taco shell.
- Place the filled taco shells on a baking dish and sprinkle the shredded cheese on top.
- Bake in the preheated oven for 15-20 minutes, or until the cheese is melted and bubbling.
- Remove from the oven and let them cool for a few minutes. Garnish with fresh parsley.
- Serve warm and enjoy!





No Responses