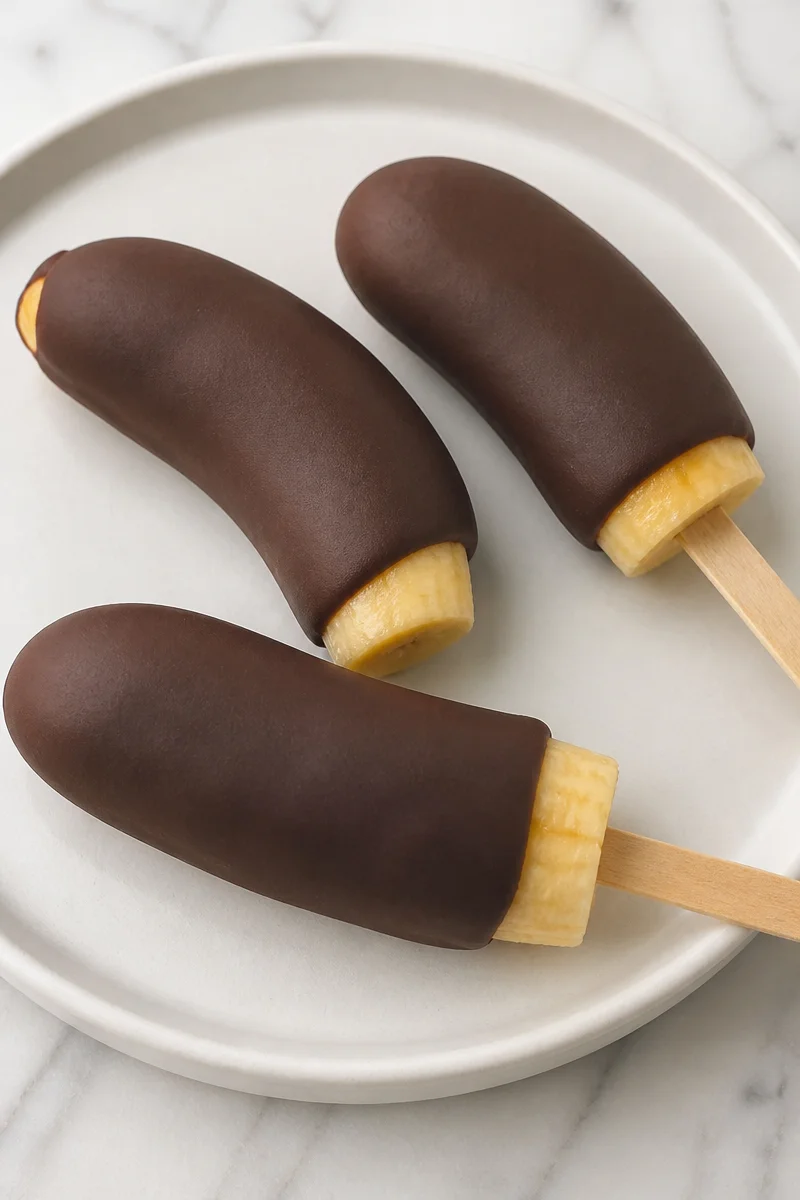
3 Ingredient Healthy Banana Popsicles
As the summer sun blazes down, there’s nothing quite like the feeling of indulging in a cool, refreshing treat. One of my favorite childhood memories is swirling smoothies in the kitchen with my mom, specially crafting healthy, delicious snacks that we could enjoy together. That sentiment leads me to share my effortlessly delightful recipe for 3 Ingredient Healthy Banana Popsicles. This creamy, delicious dessert not only brings a smile to your face but is also an easy, guilt-free treat that your family will love. You may also find 2 Ingredient Banana Donut Holes useful.
Why You’ll Love This Recipe
- Deliciously Simple: With only three ingredients, these popsicles are quick to whip up.
- Healthy Option: Perfect for a refreshing snack, these popsicles are a guilt-free indulgence.
- Kid-Friendly: Kids can help mash bananas and pour the mixture, creating family memories in the kitchen.
- Versatile: You can easily add your favorite mix-ins or fruit to create personalized flavors!
- Budget-Friendly: With minimal ingredients, this treat won’t break the bank.
Ingredients
- Ripe Bananas: The star of the show! Choose bananas that are spotty for the sweetest flavor.
- Greek Yogurt: Adds creaminess and a protein boost. You can substitute it with dairy-free yogurt if preferred.
- Honey or Maple Syrup: Sweeten to taste; it’s a natural sweetener that complements the bananas beautifully.
Remember, if you want a bit of a twist, feel free to swap the Greek yogurt for your favorite dairy alternatives to make this dessert plant-based!
Prep and Cook Time
- Prep Time: 10 minutes
- Total Time: 4 hours (including freezing time)
- Difficulty: Easy
These popsicles are not only quick to prep but also perfect for make-ahead snacks. Just blend and freeze!
Step-by-Step Instructions
- Prepare the Bananas: Start by peeling and slicing the ripe bananas. Place them in a bowl.
- Mash the Bananas: Using a fork, mash the bananas until smooth. A little texture is fine; it adds character!
- Add Greek Yogurt: Stir in the Greek yogurt until fully combined with the mashed bananas.
- Sweeten It Up: Add honey or maple syrup according to your taste—mix it well.
- Pour into Molds: Carefully pour the mixture into popsicle molds, leaving a bit of space at the top for expansion.
- Insert Sticks: If your molds don’t come with built-in sticks, insert wooden sticks into each mold.
- Freeze: Place the molds in the freezer for at least 4 hours, or until fully set.
- Enjoy: To release, warm the molds slightly under running warm water for a few seconds, then pull the popsicles out.
Variations and Twists
This basic recipe opens the door to countless delicious variations! Here are a few ideas to inspire your creative side:
- Add Berries: Fold in fresh or frozen strawberries, blueberries, or raspberries for added texture and color.
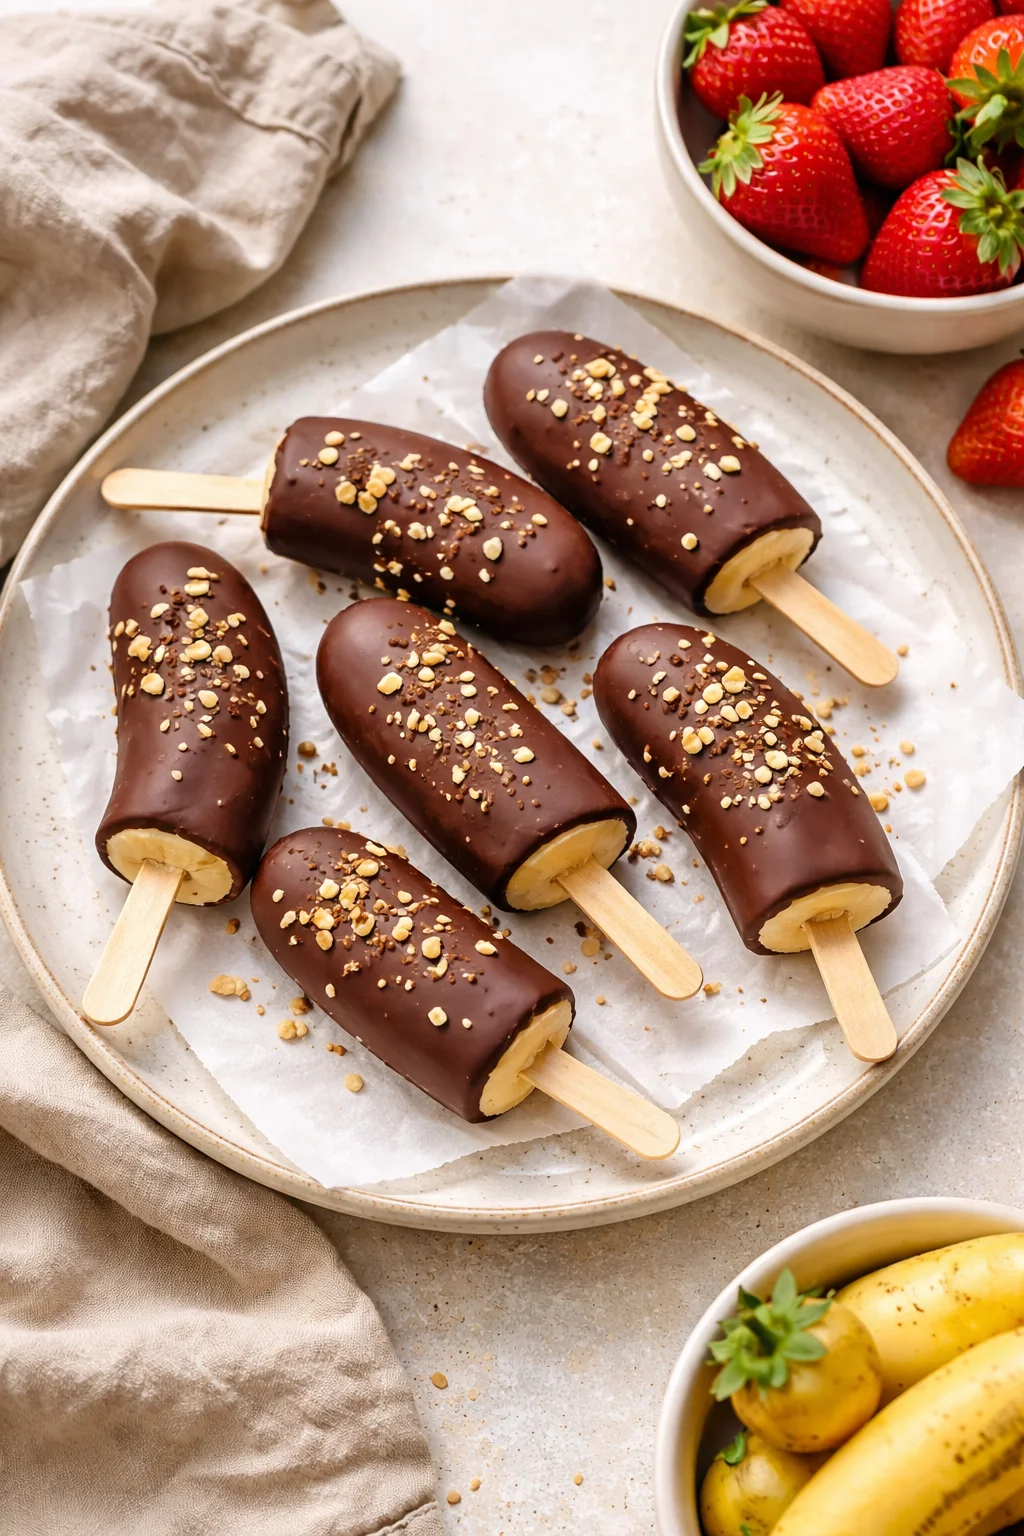
- Nutty Delight: Swirl in a tablespoon of nut butter for a creamy richness and nutty flavor.
- Chocolate Lovers: Mix in cocoa powder or small chocolate chips for an indulgent treat.
- Tropical Twist: Combine your bananas with a bit of coconut milk and shredded coconut for a taste of the tropics.
Serving Suggestions
These popsicles can be a centerpiece snack at summer barbecues, family gatherings, or afterschool treats. Serve them alongside fresh fruit or a light yogurt dip for a fun and colorful display. They also make a refreshing dessert during holiday celebrations!
Storage and Reheating
Store leftover popsicles in their molds or transfer them to a resealable plastic bag for additional storage in the freezer. They remain fresh for up to one month, maintaining their delicious creamy texture. Simply thaw for a minute or two to revitalize their flavor before enjoying!
Kitchen Tips for Success
- Use Ripe Bananas: The sweeter, the better! Be sure to use bananas that are nicely speckled.
- Don’t Over-Sweeten: Taste as you go to ensure the balance is just right; bananas may vary in sweetness.
- Cool Completely: Make sure the mixture is well blended and cool before pouring it into molds.
- Experiment with Shapes: If you don’t have classic popsicle molds, consider using small cups or ice cube trays!
FAQs
Can I use frozen bananas?
Yes! Just blend the frozen bananas without thawing them for a slightly creamier texture.
What if I don’t have popsicle molds?
You can use small cups or even muffin tins lined with paper cups as a substitute.
How do I make these dairy-free?
Simply substitute the Greek yogurt with a plant-based yogurt of your choice to keep this recipe entirely dairy-free.
How long do popsicles last in the freezer?
These popsicles will stay fresh in the freezer for up to one month, ensuring you can enjoy summer treats well into the cooler months!
Conclusion
Creating 3 Ingredient Healthy Banana Popsicles is not just about satisfying your sweet tooth; it’s about crafting happy memories and sharing joy with loved ones. This delightful recipe is easy, fun, and healthy, making it a perfect choice for families. As you enjoy these popsicles, remember the laughter and love that goes into homemade meals. If you’re in the mood for another fun frozen treat, be sure to check out these 3 Ingredient Banana Popsicles for even more inspiration!

3 Ingredient Healthy Banana Popsicles
Ingredients
Method
- Peel and slice the ripe bananas. Place them in a bowl.
- Using a fork, mash the bananas until smooth. A little texture is fine.
- Stir in the Greek yogurt until fully combined with the mashed bananas.
- Add honey or maple syrup according to your taste, and mix it well.
- Carefully pour the mixture into popsicle molds, leaving a bit of space at the top for expansion.
- Insert wooden sticks into each mold if your molds don’t have built-in sticks.
- Place the molds in the freezer for at least 4 hours, or until fully set.
- To release, warm the molds slightly under running warm water for a few seconds, then pull the popsicles out.